Time20 min prep + 35 min batch frying and glazing
Makes4 servings
Recipe notesRead before cooking
Tastefully Planned,
Joyfully Cooked.

Fry cornstarch-coated chicken wings until cooked through, then toss in a gochujang-honey glaze. Serve promptly to preserve the crisp coating.

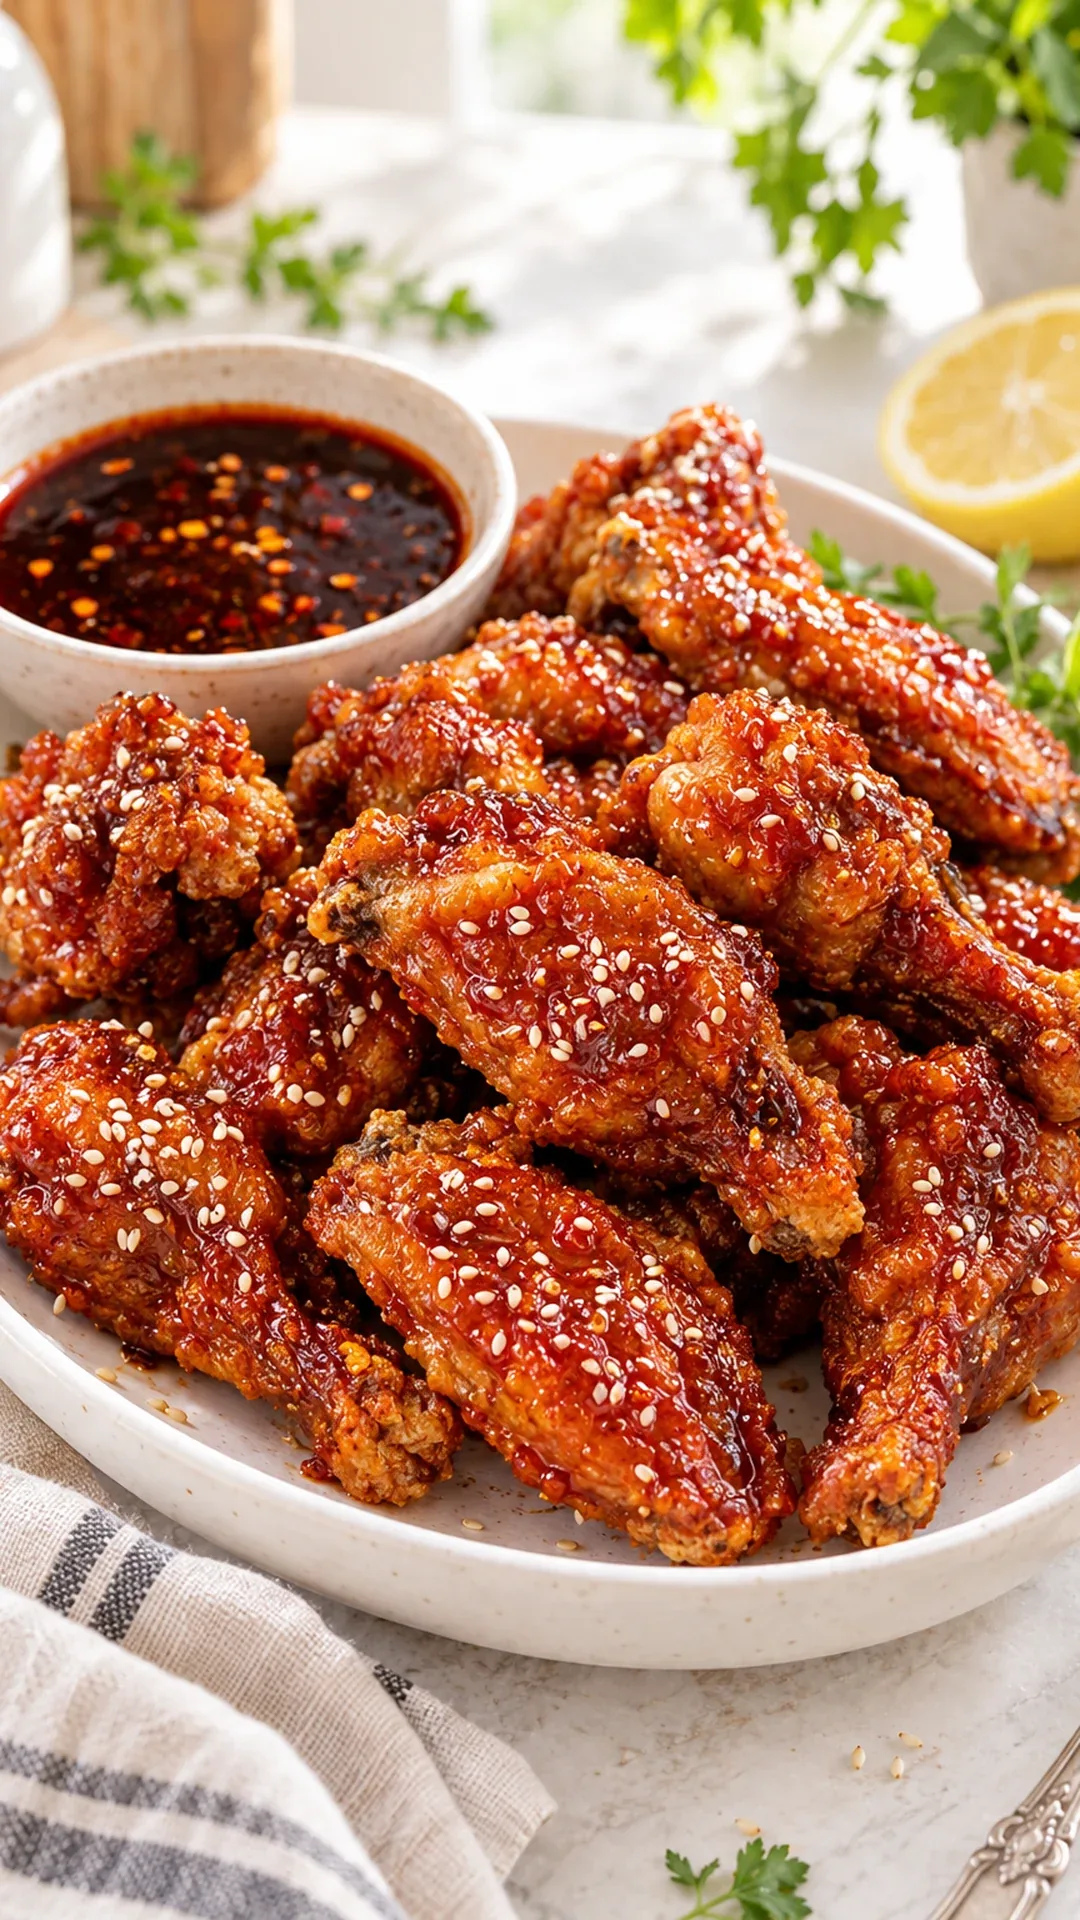
Crunch under a glossy glaze
These wings are built around a simple contrast: a light cornstarch coating and a glossy gochujang-honey glaze. The sauce should cling to the cooked chicken without making the crisp surface disappear before it reaches the table. That means the frying and the glazing have separate jobs, and timing the last toss matters as much as getting a deep golden color on the wings.
Korean flavors are familiar to me from growing up in Seoul, but this is a manageable home preparation with its own specific method. Fry the wings in the single stage described in the card, then coat them in the warm glaze. The practical goal is cooked chicken with a crisp coating and a savory-sweet finish. Keep the meal around it simple enough that the wings can be served promptly when they're ready.
Make room for batch cooking
The cooking time includes batch frying and glazing, so this isn't a recipe to start when you only have a few minutes before everyone must eat. Set up the frying pot, a rack for draining, clean tools and a separate saucepan for the glaze before heating the oil. A clear surface matters when hot oil is involved. There shouldn't be a need to move a full hot pot because the draining rack never found a place.
Count the rest of the meal into the plan too. A cool cucumber or cabbage side can be ready before frying begins, and bowls and napkins can be on the table. That way the final cooked batch doesn't sit while you start preparing everything else. I like meals with a main dish that deserves a little attention, as long as the supporting parts make that attention possible rather than competing for the same minute.
Step 1: Pat the split wings dry
Use the split wings with tips removed called for in the recipe. Flats and drumettes differ in shape, and packages can contain pieces of quite different sizes. Notice the largest pieces before they enter the oil so you remember which ones need especially careful doneness checks. Small wings becoming golden doesn't prove that every thick drumette in the same batch has reached the safe internal temperature.
Pat the wings very dry as directed. Surface water gets in the way of a light coating and can make hot oil spatter, so this is useful preparation rather than fussy polishing. Keep raw chicken equipment separate from the clean area for cooked wings, and wash hands and surfaces after handling the raw pieces. Don't rinse chicken in an attempt to clean it; the preparation here is careful drying and safe handling, followed by thorough cooking.
Step 2: Coat the wings lightly in cornstarch
Cornstarch makes the coating rather than a thick batter. Mix it with the measured salt and pepper, then toss the dry wings so the surfaces are lightly covered. Shake away loose, powdery patches instead of pressing on a heavy layer. A thick pocket of dry coating isn't more likely to become crisp simply because it contains more starch. The layer should follow the chicken's shape and leave room for the texture of the wing underneath.
Coat in a bowl with enough room to turn the pieces without sending cornstarch around the kitchen. If a few areas look uneven, adjust them before the oil needs your full attention. Keep the raw coated wings on their own tray or plate, clearly apart from the rack for fried ones. That separation also makes the work easier to follow: raw pieces move toward the pot, cooked pieces move away from it, and clean utensils serve the finished food.
Step 3: Set up the frying pot
A sturdy deep pot provides room above the oil as well as a stable base. Use a neutral frying oil, leaving ample space above it in the pot. Stay with the pot and monitor the oil throughout frying, using the recipe’s approximate 350°F temperature as your working target. Cold chicken lowers the temperature, and the heat needs attention as the batch cooks and the next one waits.
Lower pieces carefully with a suitable tool and avoid dropping them from a height. Keep water and wet utensils away from the hot oil, and don't crowd the pot. A smaller batch is easier to turn, check and remove than one packed tightly into the available space. If the oil is bubbling so vigorously that you can't manage the pieces comfortably, pause and reassess the heat and batch size. Control matters more than trying to finish every wing in the fewest possible rounds.
Step 4: Fry and check the chicken temperature
Deep golden color is a useful cue for the coating, while 165°F inside tells you the chicken is cooked through. Check the thickest meat without touching the bone, and pay attention to the bigger pieces in each batch. The ten-to-twelve-minute range in the card depends on wing size and oil temperature. It doesn't replace a thermometer check just because the first batch happened to finish within that window.
Let the oil recover between batches so the coating isn't sitting in oil that has become too cool. If the outside darkens very quickly, it can be a sign that the oil is hotter than intended even though the interior still needs time. Adjust thoughtfully instead of trusting color alone. Keep the raw and cooked utensils clearly separate throughout the process. A finished wing should land on the clean draining rack, not back on the plate that carried the raw batch.
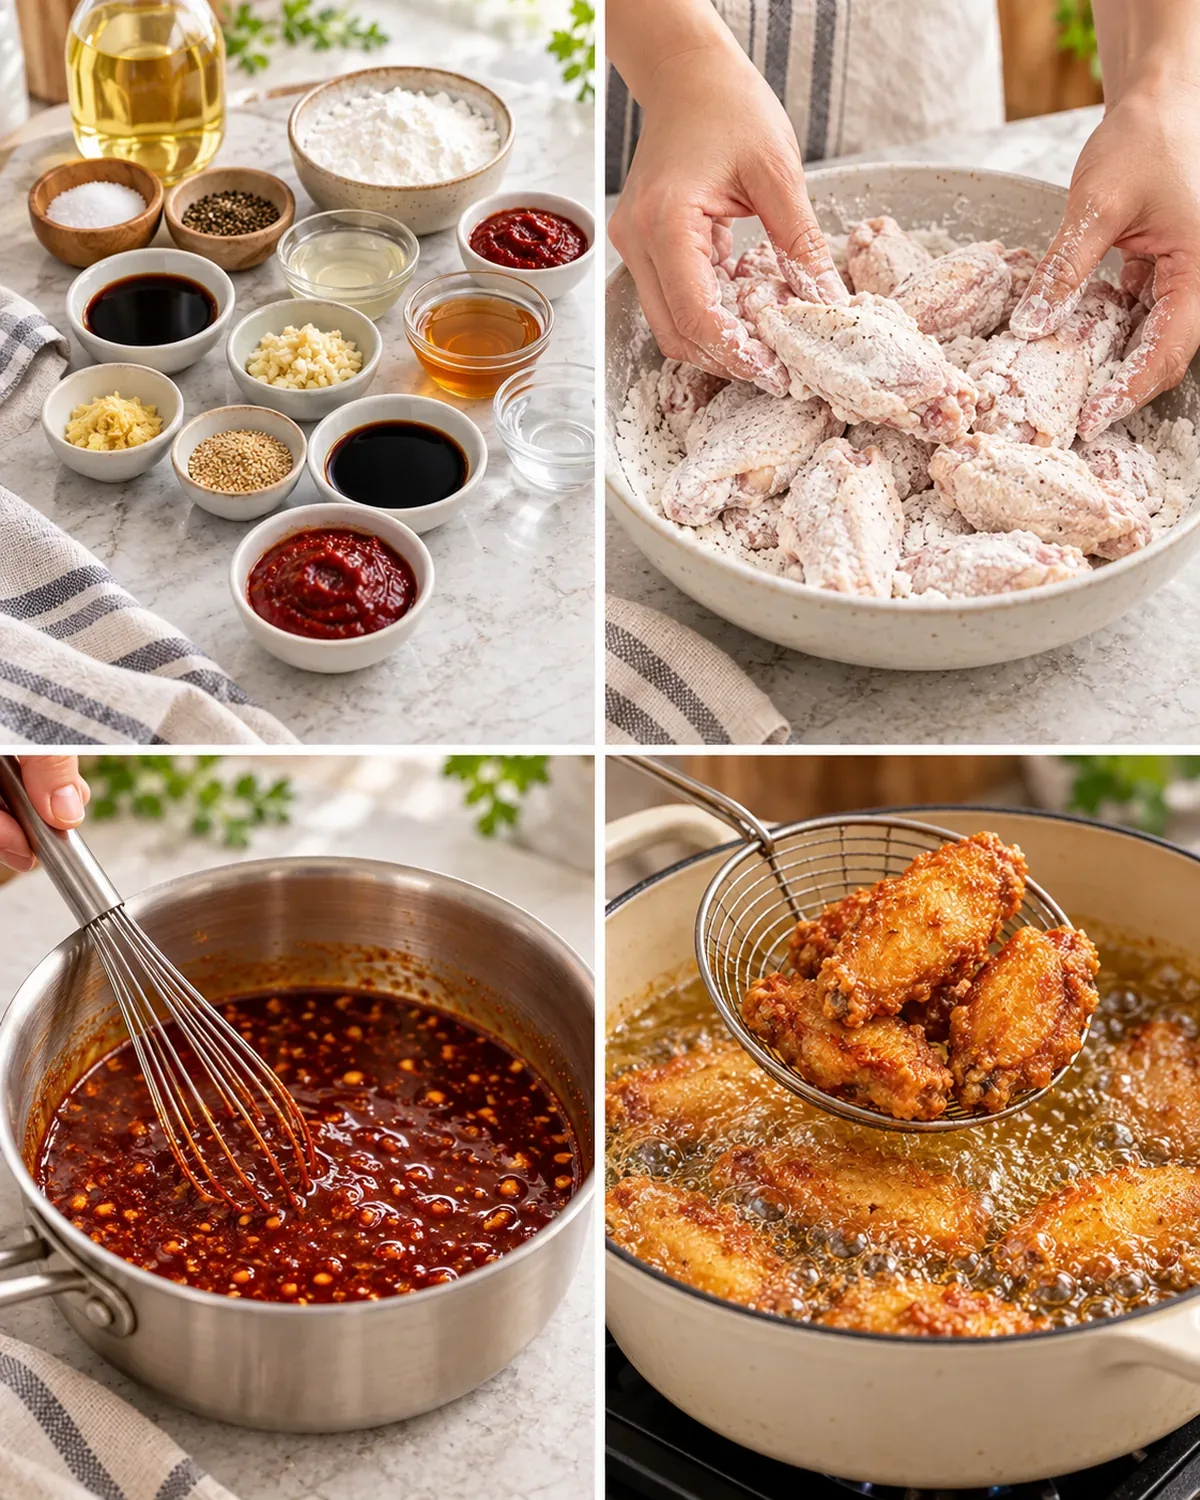
Step 5: Drain the wings on a rack
Drain the fried wings on a rack, which allows air to reach underneath instead of trapping steam against the coating. Position it over a suitable tray to catch drips so you aren't moving oily wings around the counter. A pile of hot wings can soften at the points where they press together, so spread them with enough room when possible. The aim is to preserve the crispness you just spent time creating.
The first batch may wait briefly while later batches cook, but it doesn't need a coating of sauce during that wait. Keep the glaze separate until the serving moment. If you want to offer some wings plain, that choice is easiest before anything is tossed. Separate serving amounts help accommodate different appetites and preferences without repeatedly moving sauced wings back and forth or trying to remove glaze after the fact.
Step 6: Mix the gochujang glaze
Gochujang supplies chili flavor and a savory background, while honey brings sweetness and helps make the glaze cling. Soy sauce adds salt, and rice vinegar keeps the sweet elements from feeling flat. Garlic and ginger bring another layer of aroma. Measure these before frying so warming the glaze is a short, focused job rather than a search through jars while chicken needs turning.
Different gochujang products vary in heat and salt, so know the one you're using before choosing extra sauce at the table. Read ingredient labels when allergies or other dietary needs matter. The recipe gives a balanced starting mixture; it doesn't need an automatic extra spoon of soy or honey because the color looks strong. Gochujang is naturally an assertive ingredient, and the wings provide the plain savory surface that helps the glaze make sense.
Step 7: Simmer the glaze gently
Use a clean saucepan for the glaze, keeping it away from raw chicken tools and juices. The short gentle simmer in the method gives the ingredients a chance to come together and look glossy. Stir so the garlic and sweet mixture don't catch on the bottom. A hard, long boil can concentrate the glaze more than intended, making it sticky in a way that is difficult to distribute lightly over the cooked wings.
Water is already included in the glaze ingredients to help the mixture come together. Don't try to turn it into a thick candy coating by reducing far beyond the card's stage. It should coat the wings when tossed, with a sheen that still leaves some surface texture visible. If the pan is ready before the last chicken batch, keep an eye on it rather than letting it bubble unattended until the sauce has changed substantially.
Step 8: Toss what you will serve now
Bring the hot cooked wings and warm glaze together close to serving. Use a clean, roomy bowl so a gentle toss can coat them without scraping off the starch coating. You don't need a deep pool of sauce beneath the wings. The more time they sit wet, the more the crisp layer softens, which is why the last toss is a serving step rather than a holding method for the entire evening.
Sesame seeds finish the surface with a small nutty contrast. Have them ready so there isn't another delay once the wings are glazed. Extra sauce can be offered separately for people who want it. That lets a lighter coating stay on the main serving and gives the table a clear choice. For a four-serving batch, plan the accompanying food according to appetites; a serving of wings can feel different as an appetizer than as the center of dinner.
Serve a balanced meal and save leftovers carefully
A crisp, cool vegetable side works well against the fried coating and warm glaze. It doesn't have to be another complicated recipe. The wings already bring salt, sweetness and heat, so a restrained accompaniment can be more useful than a second bold sauce. I think of balance here as something you notice while eating: rich bites alongside fresh crunch, and portions that leave room for both on the plate.
For different preferences, offer plain wings and glaze separately if desired, using only fully cooked wings and clean serving tools. Let people take a modest first portion and add more as they want. That makes it easier to serve promptly without assuming every person wants the same intensity or quantity. A careful meal plan begins before the frying pot heats and ends with food reaching the table while its texture is still at its most enjoyable.
Refrigerate leftovers promptly in clean, covered containers, and use safe leftover handling when reheating. The existing recipe guidance gives three to four days for properly refrigerated cooked leftovers. Reheat until hot throughout and watch the sweet glaze, which can scorch before the chicken is evenly warmed. Dry oven heat can be more useful for texture than adding more sauce, but reheating won't recreate a just-fried coating exactly.
Let used oil cool safely before dealing with it, and follow appropriate local disposal guidance rather than pouring it down a drain. Clean up the raw-chicken area separately from storing cooked leftovers. The most economical approach to fried wings isn't making a huge extra batch simply because the pot is already out. It's choosing an amount the household will enjoy, cooking it carefully, and having a clear plan for any portion that remains.
I keep the wings and glaze separate until we're ready to eat. A lighter coating leaves room for the chicken's crunch, and extra sauce can go on the table. With different appetites in the family, that small choice is useful: everyone can add a little more without the whole batch sitting in sauce.
Joy.Fry cornstarch-coated chicken wings until cooked through, then toss in a gochujang-honey glaze. Serve promptly to preserve the crisp coating.
Tap each ingredient as it goes into your basket or bowl.
Follow the steps in order to make this recipe.
Pat wings very dry. Toss with cornstarch, salt and pepper until lightly coated.
Heat oil in a sturdy deep pot to about 350°F. Fry wings in batches for 10–12 minutes, adjusting for size and temperature, until deeply golden and 165°F inside. Drain on a rack.
In a clean saucepan, gently simmer gochujang, honey, soy, vinegar, garlic, ginger and water for 2–3 minutes until glossy.
Coat hot cooked wings with glaze, sprinkle with sesame seeds and serve immediately.
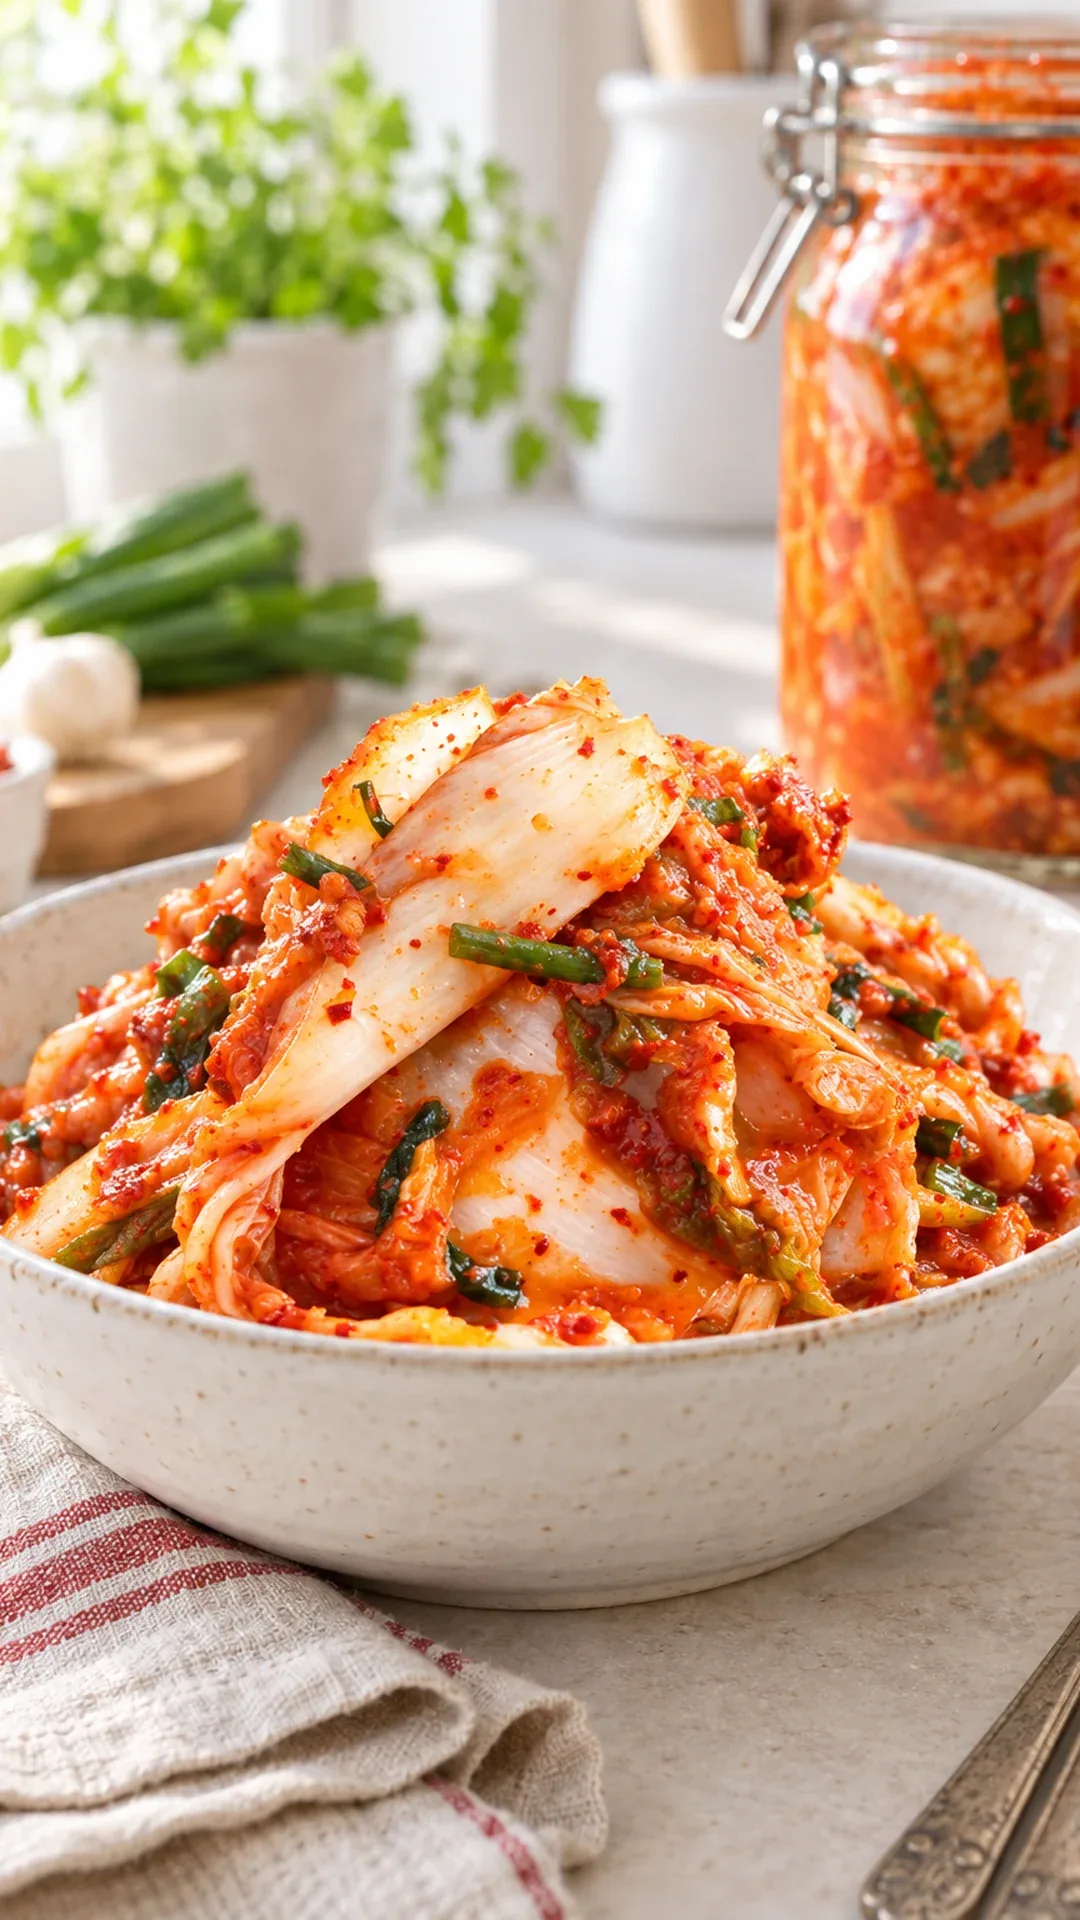
A crunchy, spicy fridge staple starts here.
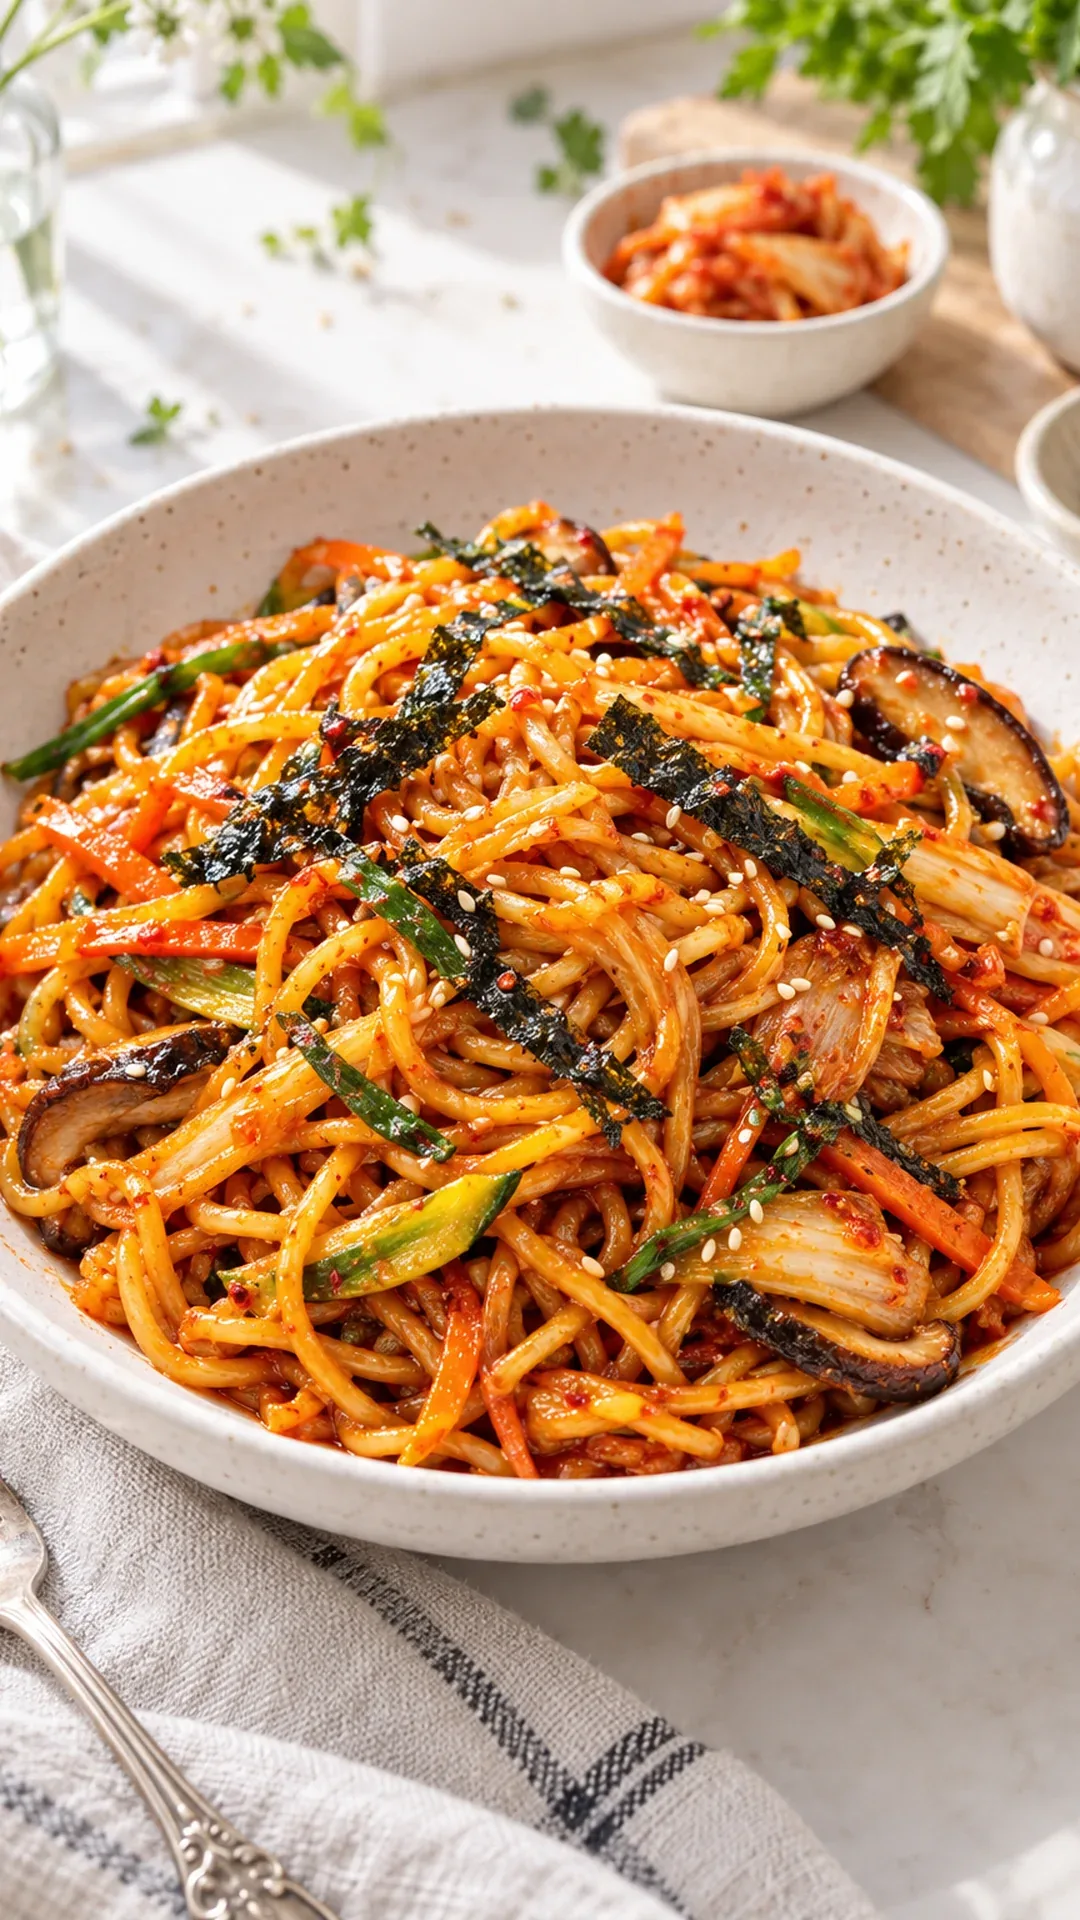
Your leftover kimchi has very good plans.
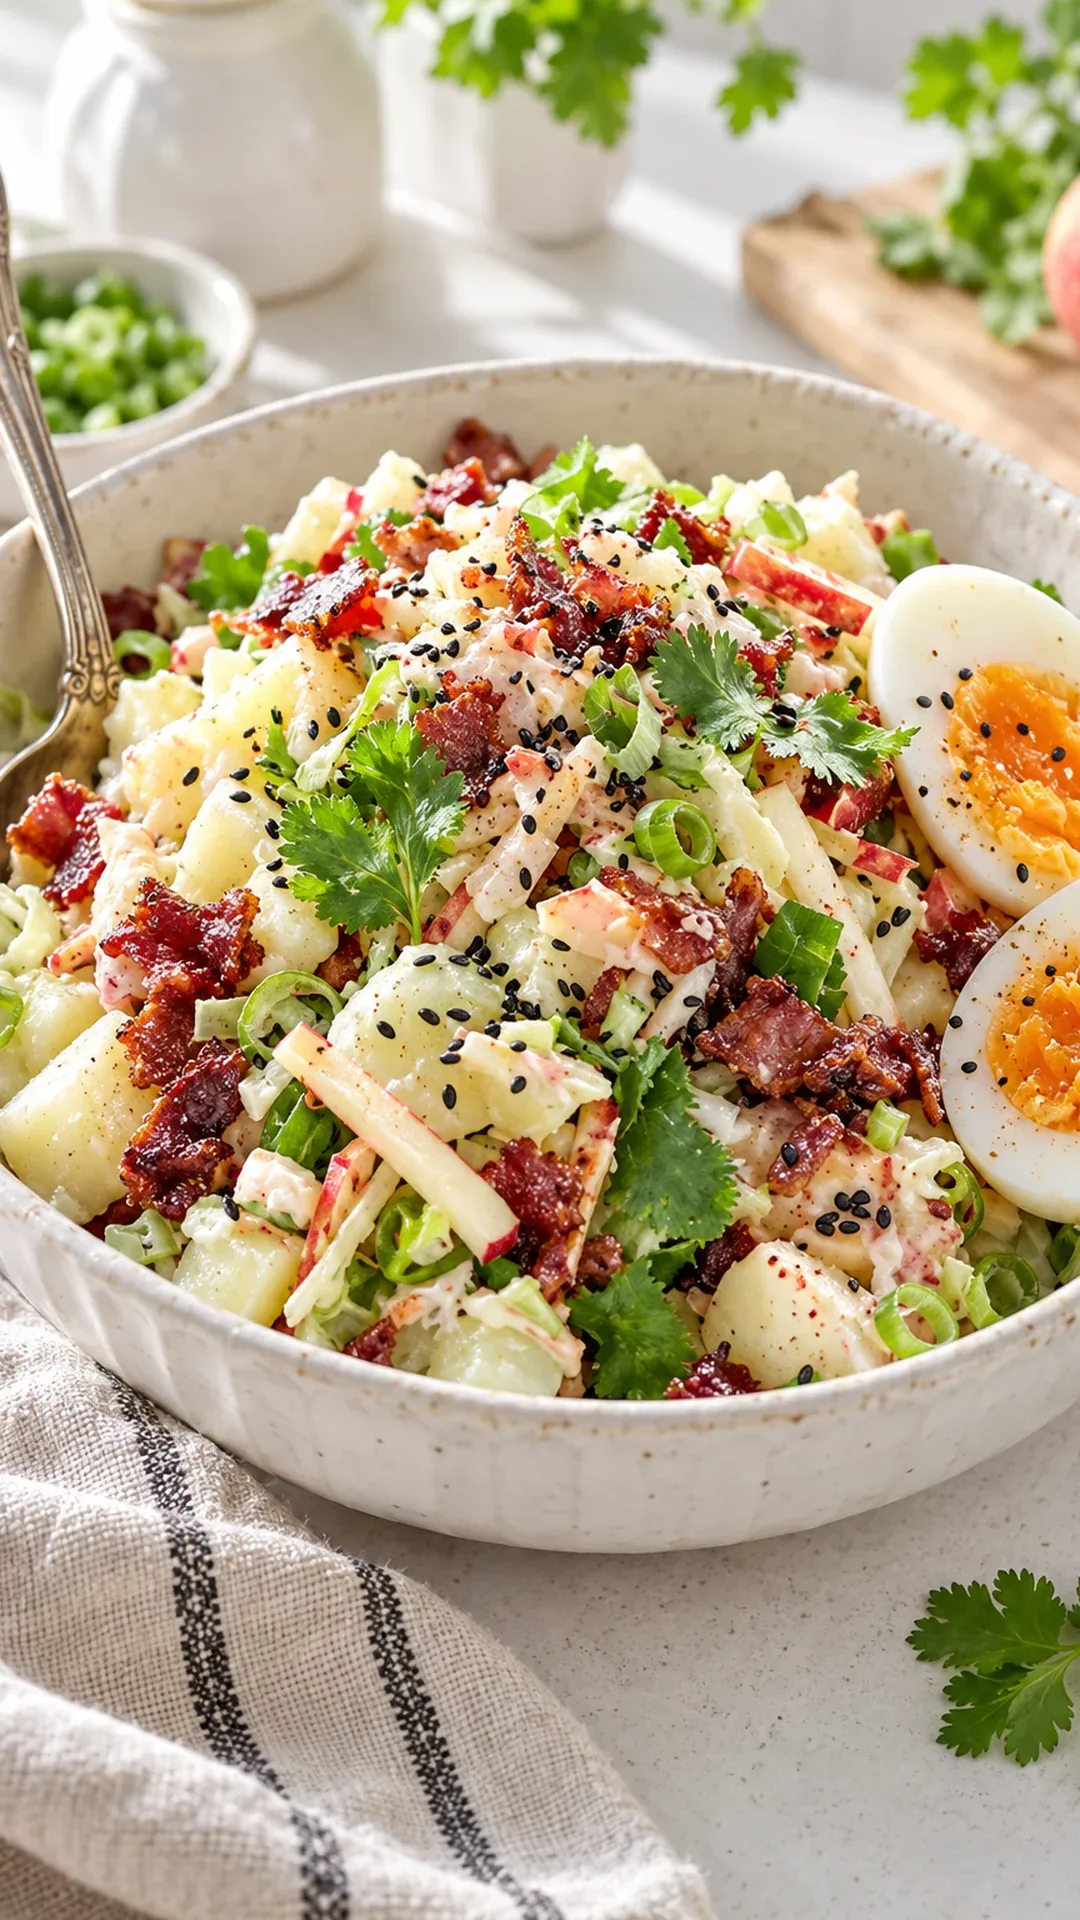
Potato salad just got invited to the party.
Fry cornstarch-coated chicken wings until cooked through, then toss in a gochujang-honey glaze. Serve promptly to preserve the crisp coating.
Joy’s kitchen note · I keep the wings and glaze separate until we're ready to eat. A lighter coating leaves room for the chicken's crunch, and extra sauce can go on the table. With different appetites in the family, that small choice is useful: everyone can add a little more without the whole batch sitting in sauce.