Time5 min prep + 15 min cooking, plus cooling
MakesAbout 1 cup (290 g)
CategorySauces
Tastefully Planned,
Joyfully Cooked.

A smooth four-ingredient caramel sauce with butter, cream and a clear salty finish for small drizzles over desserts.

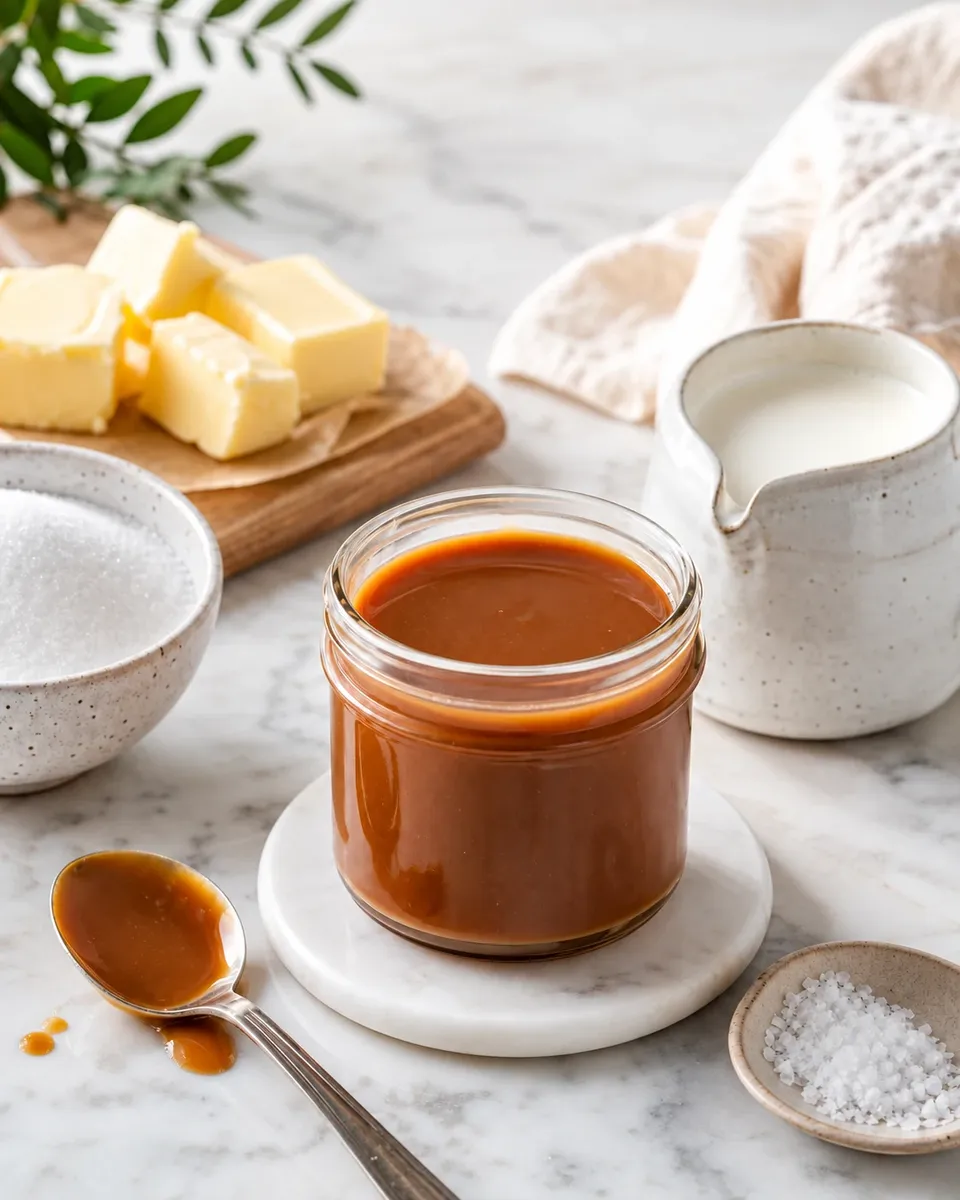
Four ingredients with a focused method
Salted caramel uses a short shopping list, but the sugar stage deserves your full attention. This is a dry caramel: granulated sugar melts in the pan without an initial addition of water. The butter and cream turn that melted sugar into a pourable sauce, and salt balances its sweetness. There is no need to multitask at the stove. Measure everything first, choose a clear work area and keep a heatproof surface ready for the saucepan. The recipe becomes more approachable when the preparation is deliberate and the hot stage is treated as one continuous task.
The pan makes the color easier to read
A heavy stainless-steel saucepan spreads heat more evenly and lets you see the sugar’s color against a pale interior. A dark-coated pan can make it difficult to distinguish amber from the beginning of burning. High sides are important because the butter and cream make the caramel rise and bubble. Use a pan large enough for that expansion even though the final amount is only about a cup. A heat-safe silicone spatula or wooden spoon should reach the edges. Avoid tools that cannot tolerate hot sugar, and keep the handle positioned where it will not be bumped as you stir.
Step 1: Melt the sugar
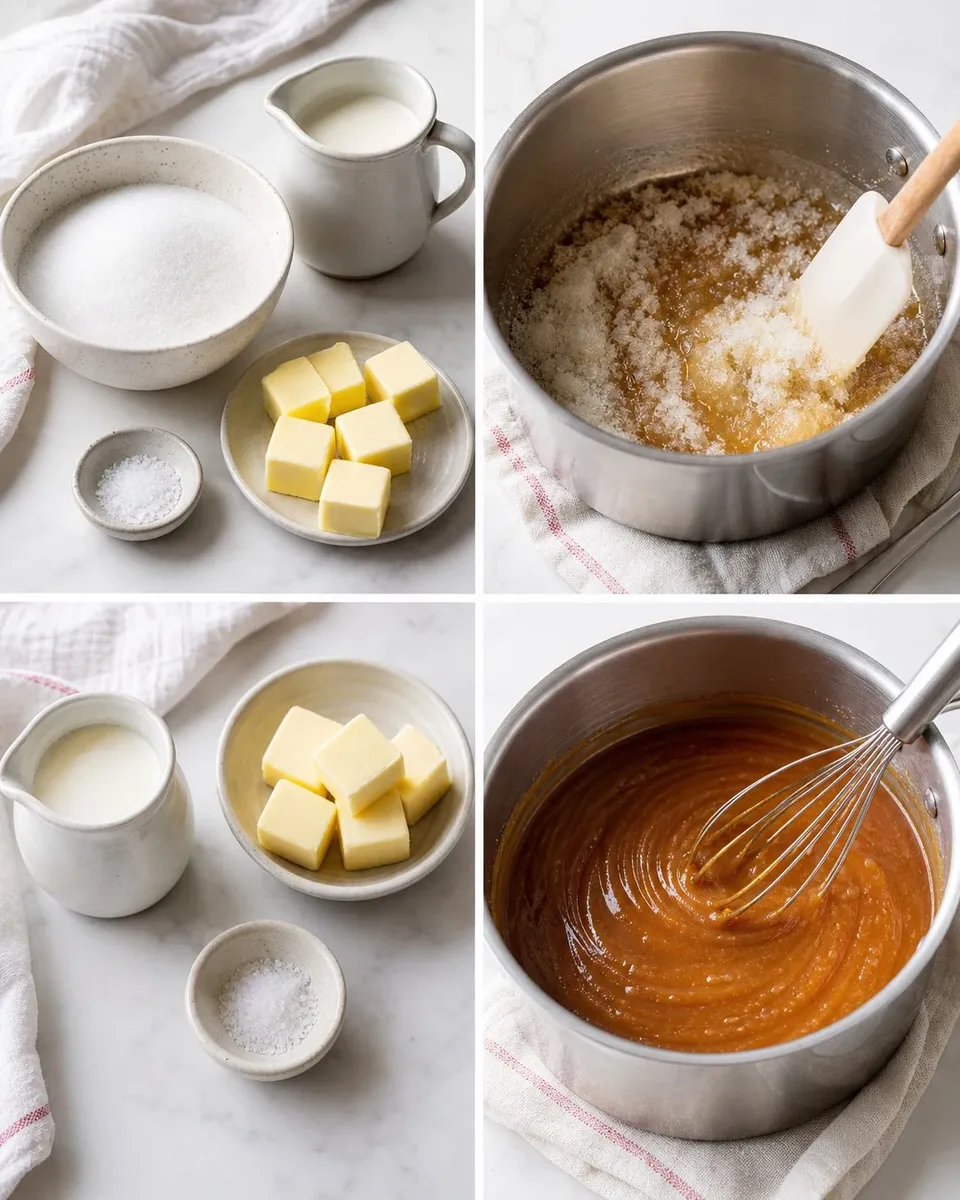
Dry sugar often changes from loose crystals to damp-looking clumps before it becomes a smooth liquid. Those clumps do not automatically mean the batch has failed. Continue stirring across the base and edges, allowing unmelted sugar to meet the warm liquid. Manage the heat so the melted areas do not turn very dark while a large patch of crystals remains. If the pan has a strong hot spot, move it slightly or lower the heat. The goal is evenly melted amber sugar. Patience here is more useful than increasing the heat to force the last few crystals to disappear.
Step 2: Cook the sugar to amber
As sugar cooks, its color deepens and the flavor moves from simple sweetness toward a more toasted bitterness. Watch continuously once the mixture is fully liquid, because that change can accelerate quickly. You want a clear amber color and a caramel aroma, not blackened spots or an acrid smell. Remove the pan from the heat if the color is advancing too fast. Cream will lighten the appearance later, so do not judge the sugar stage by the color of the finished sauce in a photograph. A burnt base cannot be repaired by adding more butter, sugar or cream after the fact.
Step 3: Add the butter carefully
The butter is cooler than melted sugar even at room temperature, so bubbling is expected when it enters. Cut it into pieces beforehand and keep your face and hands away from the steam. Stir slowly and carefully, keeping the bubbling foam in the pan and away from your hands. If the butter seems to separate, take the pan off the heat and work it back together before proceeding. A brief pause gives more control than trying to fix separation over a strong burner. Do not taste the mixture at this stage: molten caramel can cling to skin and causes serious burns well before it looks threatening.
Step 4: Pour in the cream slowly
Room-temperature cream reduces the temperature shock compared with refrigerator-cold cream, but it still makes the caramel foam and steam. Pour in a thin stream while stirring with a long-handled utensil. Once the cream is incorporated, the brief controlled boil helps bring the sauce together. Keep the pan uncovered and do not lean over it to inspect the surface. If the foam approaches the rim, remove the saucepan from the heat until it settles. The final salt goes in after the pan comes off the heat, allowing its seasoning to be distributed without extending the sugar’s cooking stage.
Step 5: Cool and check the consistency
Freshly cooked caramel is much thinner than chilled caramel. Do not keep boiling simply because the hot sauce does not yet cling like a finished drizzle. It thickens as the temperature falls and becomes firmer in the refrigerator. Let a small amount cool safely before judging its texture or sweetness. Rewarming a chilled portion restores fluidity; adding extra liquid to the entire jar each time can gradually change the sauce. The stated salt amount gives a definite salted finish, so use the unsalted butter specified rather than unknowingly combining salted butter with the full measured teaspoon.
A little sauce can stretch across several treats
Caramel is concentrated and sweet, which makes a measured spoonful a useful finishing accent rather than a main ingredient in every serving. Drizzle it over a small dessert, stir a little into a warm drink or serve a thin ribbon with apples. Keep the remainder covered and refrigerated once cooled, using a clean spoon to avoid introducing crumbs. Warm only what you need over gentle heat or in short microwave bursts in a suitable container. Label the jar with the preparation date and follow a conservative dairy-sauce storage plan; a homemade jar is not shelf-stable just because it contains a lot of sugar.
A small bowl test before storage
After the caramel has cooled enough to handle safely, put a spoonful in a small dish and let it cool further before deciding whether it is suited to the intended use. A sauce for drizzling over ice cream can be thicker than one stirred into a cold drink, and refrigerator temperature changes both. This test avoids adding extra cream to the whole batch unnecessarily. If a texture adjustment is needed, make it to a small warmed portion first and keep track of what was added. Homemade caramel is more repeatable when changes are measured, especially because the original sugar color and evaporation already vary a little between pans.
Why room-temperature dairy still foams
Butter and cream do not have to be icy cold to cause a dramatic reaction. Melted sugar is far hotter than either room-temperature ingredient, so water in the dairy rapidly becomes steam as it meets the caramel. That is why the high-sided pan and slow pouring remain important even after the dairy has been brought out of the refrigerator. Do not lean in because the ingredients feel mild to the touch before cooking. Keep the countertop beside the stove clear so there is somewhere safe to set the pan if it needs to come off the heat quickly. A calm workspace is part of controlling the recipe, not merely a cleanup preference.
Crystals and burnt flavor need different decisions
A few unmelted sugar grains during the initial stage can continue melting with careful stirring and controlled heat. A finished sauce that is gritty may have a crystallization problem, while a blackened, acrid batch has been burnt. Treating both situations with extra boiling can make matters worse. Follow the sugar’s color closely from the beginning and use clean tools that do not shed dry ingredients into the pan. If the flavor is burnt, start again with a clean saucepan once it has cooled safely. Butter and cream are too valuable to add to a sugar base that already smells scorched, and their richness cannot remove that bitterness.
A jar is storage, not a canning method
Transfer cooled sauce into a clean container suitable for refrigeration and leave room for it to be stirred or portioned. A lid that seals tightly does not make homemade dairy caramel safe for shelf storage. Keep it refrigerated, take out a clean spoonful and return the jar promptly rather than warming the full container repeatedly on the counter. If reheating in a microwave, use a microwave-safe vessel and short intervals because hot spots can develop in a thick sauce. Let it cool slightly before tasting. For a gift, include the preparation date and clear instructions to keep the sauce refrigerated.
Measure the butter and cream before melting the sugar. Once the caramel reaches amber, having both within reach matters more than trying to work faster.
Joy.A smooth four-ingredient caramel sauce with butter, cream and a clear salty finish for small drizzles over desserts.
Tap each ingredient as it goes into your basket or bowl.
Follow the steps in order to make this recipe.
Measure the sugar, cubed room-temperature butter, room-temperature cream and salt. Use a medium heavy stainless-steel saucepan with high sides and a heatproof spatula.
Cook the sugar over medium heat, stirring and scraping the edges as it clumps and melts. Continue until the sugar is fully liquid and amber, reducing the heat if it darkens too quickly.
Lower the heat and carefully stir in the butter. The mixture will foam. Stir until combined; if it separates, remove from the heat and whisk carefully until smooth before continuing.
Slowly pour in the cream while stirring, keeping hands clear of the rising steam. Once incorporated, bring to a controlled boil over medium heat for 1 minute.
Remove from the heat and stir in the salt. Let the caramel cool and thicken before tasting or using. Transfer to a heatproof storage container once safe to handle. Refrigerate covered and reheat only the amount needed gently.
A smooth four-ingredient caramel sauce with butter, cream and a clear salty finish for small drizzles over desserts.
Joy’s kitchen note · Measure the butter and cream before melting the sugar. Once the caramel reaches amber, having both within reach matters more than trying to work faster.