Time30 min active prep + 1 hr 50 min rising + 30 min baking
Makes6 large bread bowls
CategoryBaking
Tastefully Planned,
Joyfully Cooked.

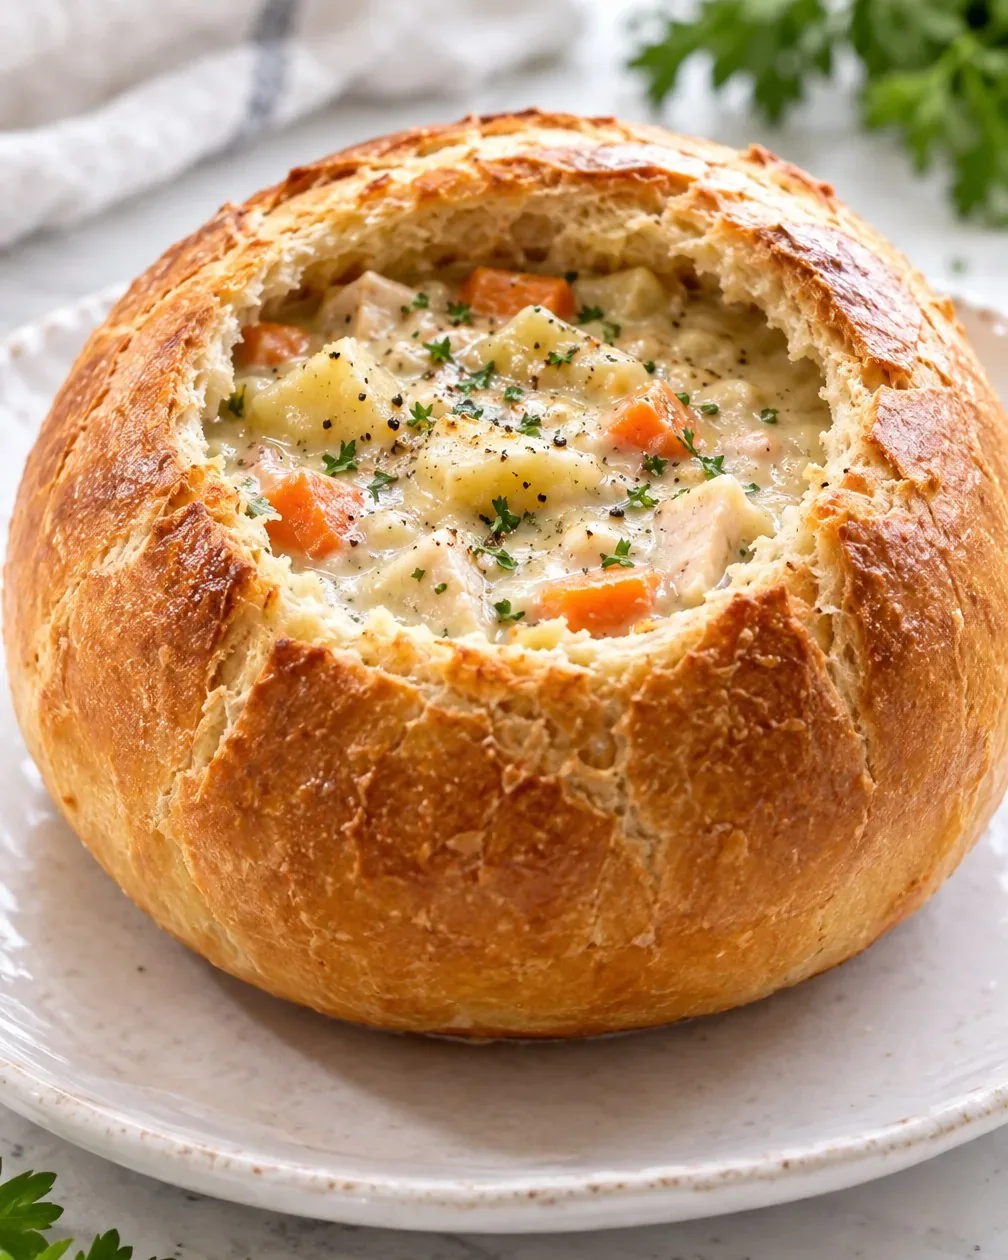
Bake homemade yeast bread bowls with firm crusts and soft centers. Follow the rising and shaping steps, then cool and hollow them for soup.

Bread that gets to be part of dinner
A bread bowl is more than a serving dish. The crust holds the soup for a little while, the soft bread inside becomes something to dip, and the lid gives you another piece to tear. I like planning all of those parts as food from the beginning. Hollowing the loaf should create room for dinner, not a pile of bread that gets forgotten while the soup takes the attention.
This batch makes six large bowls, so check the meal plan before starting. You might need all six for one table, or you might leave several unfilled for another day. The dough itself is straightforward, with bread flour, water, yeast, a little sugar, salt, and olive oil. Its shape and a properly baked center are what help it do the more unusual job of holding something warm and spoonable.
Bread flour has a useful job here
Bread flour supports a dough that can stretch and keep a rounded form. Measure it by the recipe's weight or spoon and level the cups, keeping the extra flour for the counter separate from the measured amount. A dense scoop can make the dough drier before kneading even begins. Starting with the intended amount is more useful than trying to soften a stiff dough after it has absorbed far too much flour.
Olive oil gives the dough a little richness, while sugar accompanies the yeast without making this a sweet bread. Salt belongs in the dough for flavor; it isn't something to leave out because soup will be added later. The egg wash is a separate finishing mixture, so keep that egg and its small amount of water or milk apart from the ingredients being measured into the mixing bowl.
Step 1: Check the yeast before committing the flour
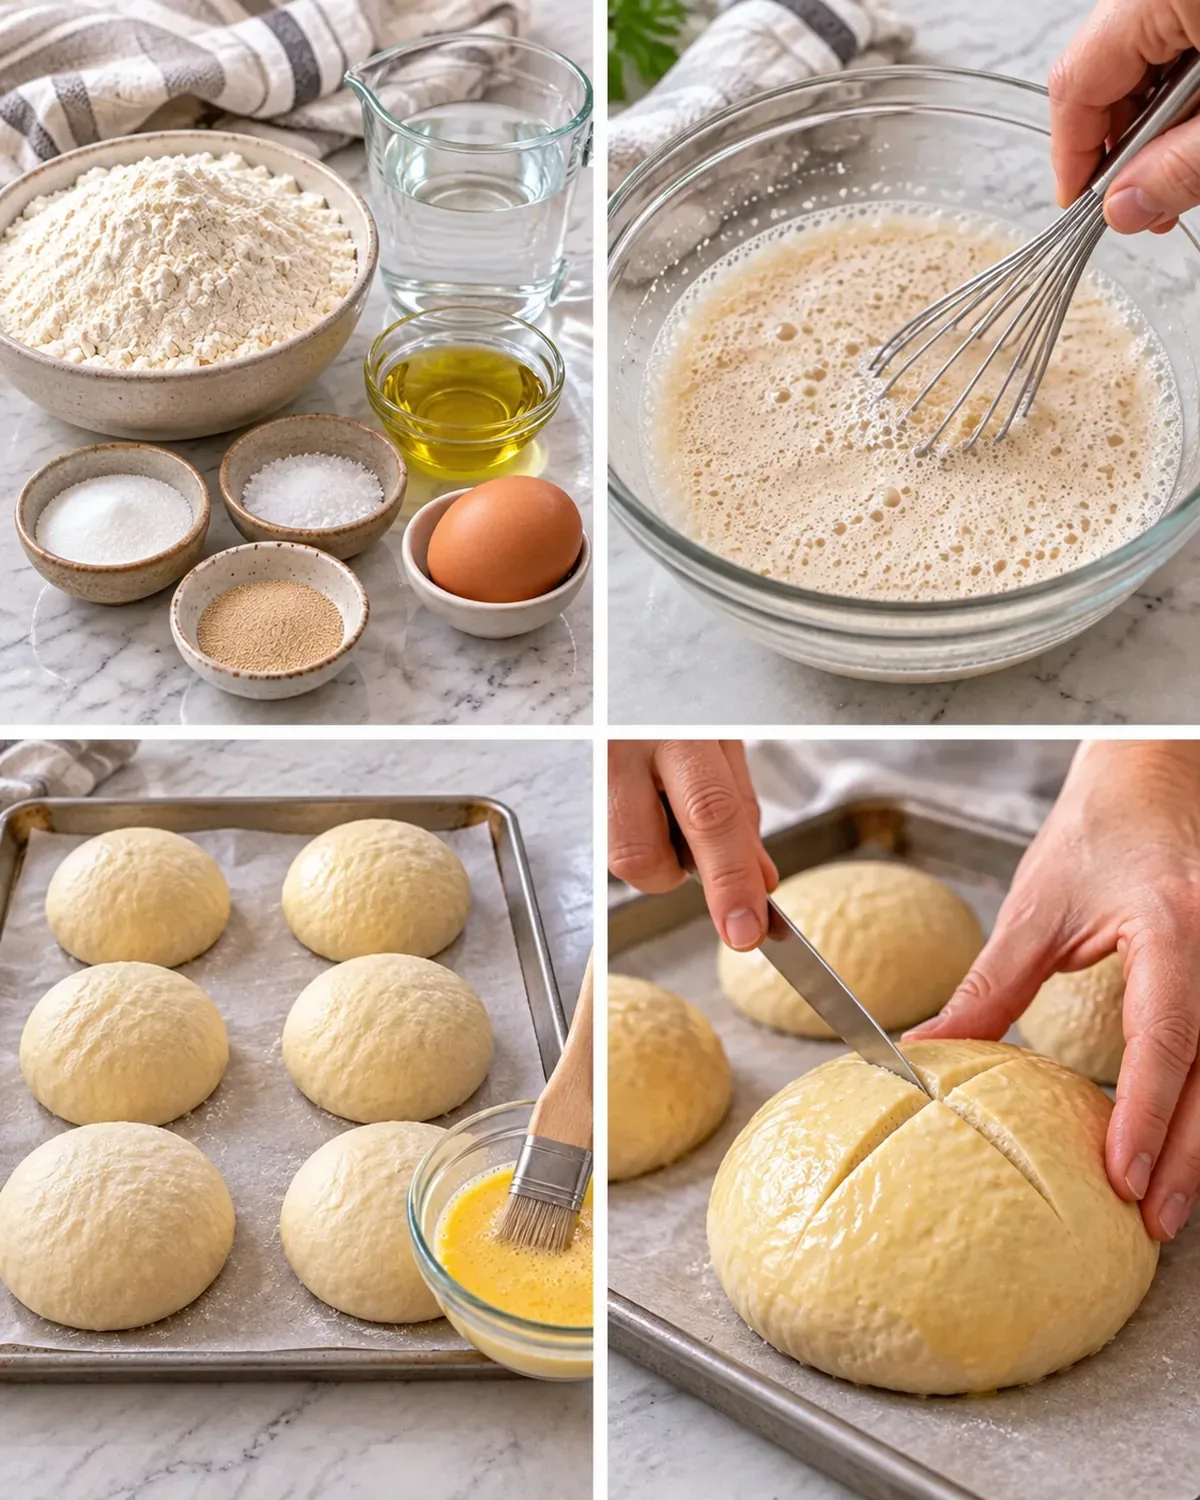
The warm water should be in the range specified for the active dry yeast, and a thermometer removes the guesswork from what feels warm to different hands. Let the mixture stand for its brief activation period and look for a foamy surface. This small checkpoint comes before the flour because it is easier to notice a yeast problem in a bowl of water than in a large, heavy dough.
Use a bowl with room for mixing and later movement. If you have a mixer with a dough hook, beginning in its bowl saves a transfer, but the dough can also be kneaded by hand. Set out the scraper, tray liners, and a clean covering before your hands get sticky. None is an elaborate piece of equipment; each makes it easier to keep working without reaching through a cabinet with dough on your fingers.
Step 2: Mix the dough and adjust the flour
The flour enters in stages, allowing the first portion to combine before the remainder. Scrape the bowl when needed so the water doesn't stay hidden beneath a dry layer. After the measured flour is incorporated, the dough should be soft and a little tacky. It doesn't need to become completely dry against your hands to be manageable, and a dusting on the counter is different from kneading in a new cupful.
Add extra flour only in the small increments described if the dough sticks badly. Give kneading a chance to develop the texture before making another addition. A dough that seems awkward at the first turn can become smoother as it is worked. I prefer this measured approach because excess flour is difficult to take back, and a very stiff dough can make dense bowls that are less enjoyable to eat with the soup.
Step 3: Knead for stretch, not just a smooth picture
The dough hook or your hands help develop an elastic structure. Work through the kneading time, then press the dough and notice how it responds. A slow spring back and a soft, cohesive feel tell you more than a perfectly flourless counter does. If the surface tears as soon as it is stretched, try kneading a little longer to help the dough develop its elasticity.
The small stretch test in the method gives you another cue: a piece should become thin enough to let light through before tearing. Stretch gently and gradually, giving the dough time to extend without an abrupt pull that could tear it. The whole batch doesn't need to be held in the air to test it. Pinch off a small piece, assess it, then return it to the dough so you can proceed with the first rise.
Step 4: Give the first rise a sensible environment
A lightly greased bowl keeps the dough from clinging as it expands. Turn the ball to coat it, cover, and look for a visible doubling rather than relying on ninety minutes as an exact promise. The room and the dough's starting temperature both influence the pace. Choose a place that is gently warm, with enough clearance above the bowl for the covering to stay in place as the dough rises.
If using the turned-off oven option in the method, be certain the heat is off before putting the dough inside. The warm space is meant to support a rise, not begin baking. Keep the method's door arrangement in mind, and remove the bowl before preheating for the final bake. A clear reminder on the oven handle can help prevent treating a proofing oven as though it were empty.
Step 5: Divide for bowls that bake together
Press down the risen dough to release the large trapped pockets, then turn it onto a lightly floured counter. A scraper or knife gives cleaner portions than pulling handfuls apart. Divide into six reasonably equal pieces; weighing them is useful if you want the bowls to finish together. One oversized piece can still be underdone when its smaller neighbors are already golden.
Gather each portion into a smooth ball with a secure underside. Keep the top surface smooth enough to expand without ragged folds, and set the balls with space around them. Three on each of the two large trays gives them room to grow. Cover loosely during the short rest so the surface doesn't dry while the oven heats. The covering should protect the dough without pressing its shape flat.
Step 6: Finish the surface and bake the middle
Brush the egg wash over the exposed surface without leaving a puddle around the base. The wash helps create the golden finish, while the X gives the expanding top a deliberate place to open. Use a sharp knife and a controlled motion so you cut rather than drag and deflate the dough. The scored top is a practical part of the loaf, even though much of it will later become a lid.
Golden color is one cue, but the recipe also gives a center-temperature target for the bread. Check a bowl's interior so you aren't mistaking a browned exterior for a fully baked middle. This matters especially with a large rounded loaf, where the center is farther from the hot air. Allow the baking time to do its work, and use the thermometer check before deciding the whole batch is ready to leave the oven.
Step 7: Hollow carefully and fill at the table
Let the bread cool until it is comfortable to handle. Cutting while it is very hot makes the soft crumb harder to remove neatly and brings hot steam close to your hands. Slice off a round lid, then scoop out the center gradually. Leave a substantial wall and base rather than scraping until you can see a thin patch of crust. You want a bowl that remains bread, not just a fragile shell.
A thick soup is an easier match than a very thin broth that quickly soaks through. Add it close to serving and begin with a sensible amount; you can offer more separately. Set each bowl on a plate to catch drips and make carrying easier. Keep the scooped bread and lid beside the serving for dipping, or reserve extra plain crumb for another use if there is more than the meal needs.
Store bread before it becomes a soup bowl
Fill only the bowls you expect to eat. Once soup is inside, the bread absorbs liquid and won't store like an untouched loaf. Covered, unfilled bowls have the storage choices listed in the recipe, including freezing baked bowls for a later meal. Label what you freeze and thaw as directed so the batch helps a future dinner instead of becoming an anonymous bag of round loaves.
The lids and scooped centers also deserve a plan. Bread crumb can be dried for crumbs or used alongside the same soup rather than discarded, and unused whole bowls can simply serve as bread. Decide which portions stay intact before hollowing everything. That is the grocery value I like in a project like this: one dough gives a warm meal, useful dipping pieces, and a few future servings when the whole batch is more than today's table needs.
Cooking for my family makes me notice the useful little leftovers, too. Save the bread you scoop from these bowls instead of letting it disappear in the kitchen rush. Toast it with garlic and herbs for a crunchy soup topping, or keep some plain for dipping. I like the thought of the bowl and its center both becoming part of the meal, with very little wasted.
Joy.Bake homemade yeast bread bowls with firm crusts and soft centers. Follow the rising and shaping steps, then cool and hollow them for soup.
Tap each ingredient as it goes into your basket or bowl.
Follow the steps in order to make this recipe.
Whisk the warm water and yeast in a large bowl, using the mixer bowl if you have a dough hook. Cover with a towel and wait about 5 minutes for a foamy surface.
On low speed, mix in sugar, salt, olive oil, 4 cups bread flour and any optional seasonings. Mix for 1 minute, then incorporate the remaining 2 cups flour.
Knead with the dough hook or by hand on a lightly floured surface for 5–6 minutes. Add flour only a teaspoon at a time if the dough sticks badly. Aim for soft, slightly tacky dough that slowly springs back when pressed. Stretch a small piece: if it becomes thin enough to transmit light without tearing, it is ready; otherwise knead a little longer.
Shape a ball, place in a greased large bowl and turn to coat. Cover and let rise somewhere warm until doubled, about 90 minutes. On a cold day, an oven heated to 150°F (66°C) and then switched OFF can provide warmth: leave the door slightly open initially and close after about 30 minutes. Never leave the heating on with the dough inside.
Press the risen dough down to release trapped gas. Turn it onto a lightly floured counter and press out any remaining large air pockets.
Cut the dough into 6 equal portions with a scraper or sharp knife. Shape each portion into a smooth, large ball.
Line 2 large trays with parchment or silicone mats, placing 3 balls on each. Cover loosely and rest 20 minutes while the oven heats.
Heat the oven to 400°F (204°C). Brush the balls with egg wash and cut an X in the top of each with a sharp knife.
Bake about 30 minutes, until golden. Check a bowl's center with a thermometer; 195°F (90°C) is the doneness target.
Let the bread cool until comfortable to handle; cooler bread is easier to cut. Remove a round lid from each bowl, scoop out the soft center and add soup. Keep the scooped bread for dipping.
Store covered, unfilled bowls for a couple of days at room temperature or up to 1 week refrigerated. Freeze baked bowls up to 3 months; thaw overnight in the refrigerator and bring to room temperature before serving.
Bake homemade yeast bread bowls with firm crusts and soft centers. Follow the rising and shaping steps, then cool and hollow them for soup.
Joy’s kitchen note · Cooking for my family makes me notice the useful little leftovers, too. Save the bread you scoop from these bowls instead of letting it disappear in the kitchen rush. Toast it with garlic and herbs for a crunchy soup topping, or keep some plain for dipping. I like the thought of the bowl and its center both becoming part of the meal, with very little wasted.