Time15 min prep + 45–55 min roasting + 10 min cooling + 10 min warming
Makes6–8 servings
CategoryDinner
Tastefully Planned,
Joyfully Cooked.

Roast butternut squash, blend with broth and gentle spices, then finish with milk, pumpkin butter and pistachios.

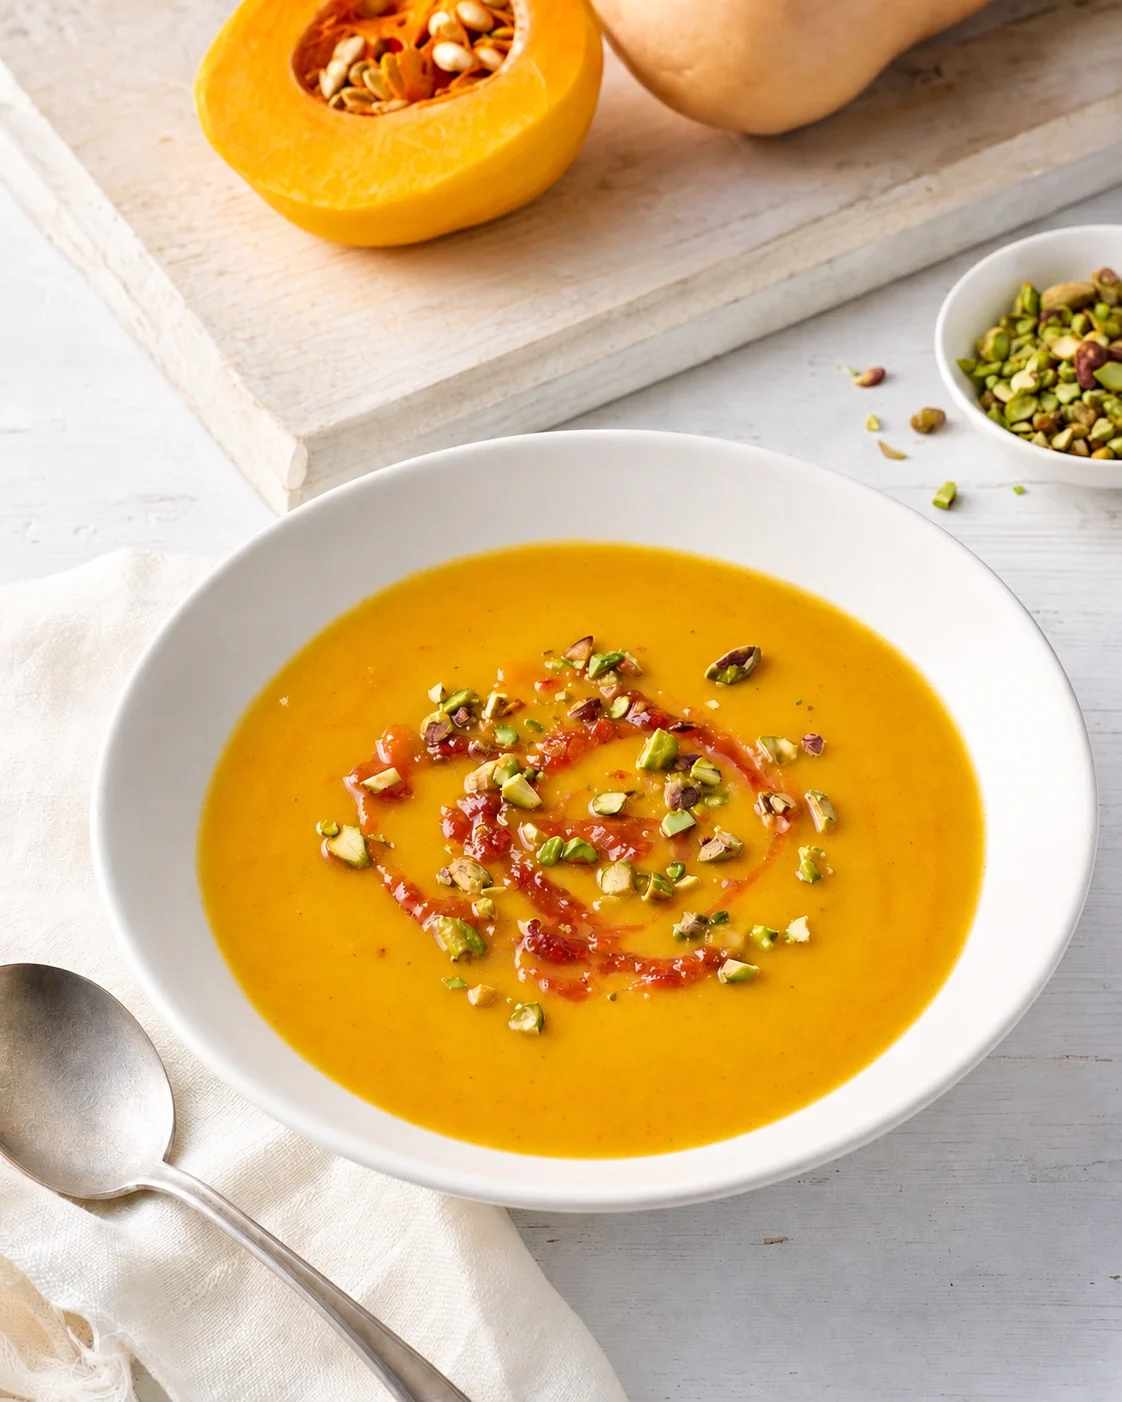
Roasted squash with a small sweet finish
Butternut squash soup can be comforting without a long list of ingredients or a heavy garnish. In this version, the squash roasts in its skin, then blends with broth and a little warm spice. Milk or half-and-half softens the puree, and pumpkin butter lands on each bowl in a small spoonful. I like that the sweet finish is kept separate from the soup itself. You can taste the roasted squash first, then decide how much topping belongs in the next bite.
The recipe makes six to eight servings, so think about the bowls you will use and whether this is a first course or a larger part of the meal. Most of the time is the squash roasting, which gives you a useful opening to prepare the other ingredients and clear the counter. The active work stays fairly simple if you let the oven do its job before trying to scoop or blend the flesh. Soft squash is the starting point for a smooth soup.
Step 1: Cut and prepare the squash
The recipe calls for one butternut squash of about two pounds. Size matters because a much larger squash changes the relationship between vegetable, broth and dairy. Choose one you can cut steadily on your board, and use a sharp knife on a stable surface. Its firm skin deserves attention. This is not a place to hold a round, rolling vegetable in the air while trying to make a fast cut.
Halving lengthwise and removing the seeds prepares the squash for roasting without asking you to peel and dice the hard raw flesh. That saves a fiddly task and keeps the preparation focused. The skin will be discarded after the flesh softens, so there is no need to spend time trimming it into neat pieces now. Keep the two halves together on the prepared baking dish, and prick the skin as directed. Do the careful cutting at the beginning, then let heat make the later scooping easy.
Step 2: Roast the squash cut side down
A lightly sprayed nine-by-thirteen-inch dish gives the squash a place to roast without a complicated coating. With the cut sides down, the flesh is protected while it softens against the dish. The recipe doesn't ask you to coat the squash in sugar or add the pumpkin butter before roasting. Those would change the flavor and darkening at this stage. The sweetness should come first from the squash itself, with the condiment saved for serving.
At 375°F, the stated forty-five to fifty-five minutes is a guide. Test the actual flesh: a fork should slide in easily. A firm section near the thicker end means the squash needs more time, even if the narrower end has softened. Give any firm sections a few more minutes in the oven so the squash will blend smoothly. Check several places with the fork; tenderness throughout is the most useful sign that it is ready.
Step 3: Cool the squash before handling
The ten-minute cooling pause is there to make the squash comfortable to handle. Hot skin can trap heat even after the dish has left the oven, so test carefully before lifting a half. Put a bowl nearby for the scooped flesh and another place for the discarded skin. That small setup keeps the work tidy and avoids carrying soft squash across the kitchen while looking for somewhere to put it.
A spoon should remove the tender flesh readily. Take your time around the edges so useful squash doesn't stay behind on the skin. You don't need every piece to look smooth in the bowl because the blender will handle that. The useful standard is that the flesh is cooked and the skin is removed. I appreciate this method for keeping edible waste low without turning preparation into a precise peeling exercise. The shape can be irregular now; the finished soup will be uniform later.
Step 4: Add broth and herbs
Low-sodium chicken broth supplies the savory liquid around the squash. Beginning with one and a half cups for blending leaves the remaining broth available for adjusting the saucepan later. Keeping that portion back is a simple way to avoid thinning the soup too far before you have seen its texture. If you choose between products, notice their salt levels as well as their flavor. The recipe's final seasoning is easier to control when the broth isn't already overwhelmingly salty.
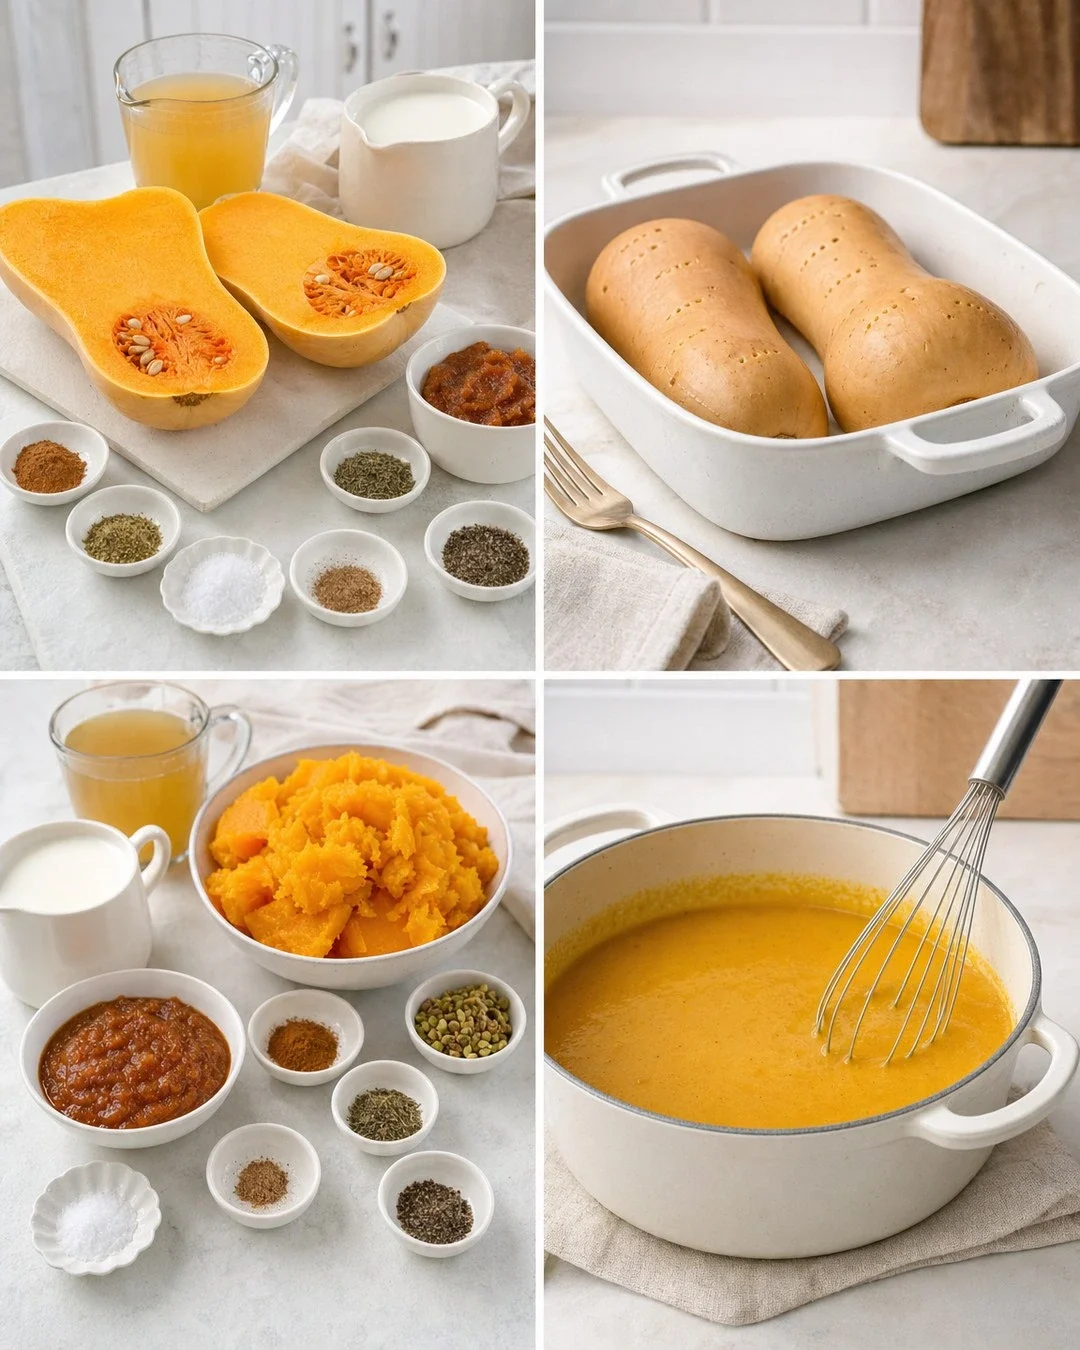
Cinnamon and nutmeg echo squash's gentle sweetness, while marjoram and thyme keep the flavor in savory soup territory. Measure the spices into the blender to keep their warm flavor balanced with the squash. A pinch of nutmeg has a different job from a large spoonful, and too much can distract from the vegetable. Modest warm spice, dried herbs and broth give the soup its savory balance, with the pumpkin butter held back until individual bowls are ready.
Step 5: Blend warm ingredients with care
Blending gives the soup its smooth body, but warm puree requires more care than a cold smoothie. Work in batches and vent the lid carefully as the recipe directs. Follow your blender's instructions for hot or warm foods; don't overfill the jar and then try to hold a sealed lid down against steam. The earlier cooling pause is helpful, but it doesn't make it sensible to treat a warm mixture as though it were refrigerator-cold.
Give each batch enough room to circulate. Thick squash can sit above the blades if too much is packed into the jar, leaving an uneven puree despite a smooth-looking surface. Stop the motor before scraping the sides or adjusting the contents. Blend until the herbs and squash are distributed without obvious lumps, then transfer to the saucepan. It is easier to establish a smooth base now than to correct pieces after the milk is added and the soup is already warm enough to serve.
Step 6: Stir in dairy over gentle heat
Milk and half-and-half are the two listed options. Milk keeps the soup lighter in texture, while half-and-half gives it a richer feel. Either belongs in the saucepan after blending. Warm the mixture over medium-low heat without a hard boil. Stirring helps the thick puree heat evenly and prevents the bottom from becoming much hotter than the surface while you wait for the whole pot to warm.
Use the reserved broth according to the actual consistency. Squash varies, so one batch may need more loosening than another. Add gradually until the soup flows comfortably from the ladle without becoming watery. Taste for salt and black pepper once the dairy and any additional broth are incorporated. Seasoning the undiluted puree heavily at the start can leave you chasing the balance later. This is a gentle warming stage, not another long cooking period meant to reduce the soup dramatically.
Step 7: Top each bowl with pumpkin butter
The pumpkin butter in this recipe is a jarred topping, not dairy butter to melt into the saucepan. Its concentrated sweet, spiced flavor is why a small spoonful is enough to start. The ingredient list names a ten-ounce jar as the supply for topping, not an instruction to stir the entire jar into the six to eight servings. Keeping it separate lets each bowl retain its own balance and keeps the main pot savory.
Chopped pistachios add a welcome firm bite against the smooth soup. Chop them enough that a spoonful can include a little crunch without one whole nut taking over. Add them near serving so they keep their contrast rather than sitting in the puree. Warm bowls are a useful finishing touch, especially when the topping is cooler than the soup. There is no need for a complicated swirl: a small visible spoonful and a scatter of pistachios explain the ingredients clearly and invite the diner to mix a little at a time.
Plan the pot and the toppings separately
Serve the soup alongside the rest of a meal according to your appetite and the size of your bowls. A smaller first-course portion and a generous lunch bowl are both reasonable, but they use the six- to eight-serving yield differently. I like thinking about that before deciding how many containers will be left afterward. It is easier to make an intentional plan for extra soup when you haven't already topped every bowl and set it on the table.
Refrigerate leftovers promptly in suitable covered containers, and keep pumpkin butter and pistachios separate. Follow the jar's directions for the opened pumpkin butter. Reheat the soup gently, stirring and loosening with a little reserved broth if appropriate, instead of trying to bring a thick dairy soup to a vigorous boil. The garnish can be added fresh to each portion. That separation preserves the soup's simple character and makes the remaining jar and nuts easier to use elsewhere without needing to repeat the entire meal.
I like keeping the pumpkin butter and pistachios beside the bowls so everyone can choose the amount they want. Start with a small spoonful of pumpkin butter; it is a topping, not an instruction to stir the whole jar into the pot. For a smoother workflow, roast the squash first, then measure the seasonings while it cools enough to handle.
Joy.Roast butternut squash, blend with broth and gentle spices, then finish with milk, pumpkin butter and pistachios.
Tap each ingredient as it goes into your basket or bowl.
Follow the steps in order to make this recipe.
Heat the oven to 375°F. Lightly coat a 9 × 13-inch baking dish with oil spray.
Place the squash cut side down in the dish. Prick the skin a few times. Roast for about 45–55 minutes, until a fork slides easily through the flesh.
Let the squash cool for about 10 minutes, until comfortable to handle. Scoop out the flesh and discard the skin.
Blend the flesh with 1½ cups broth, cinnamon, marjoram, thyme and nutmeg until smooth. Work in batches and vent the lid carefully when blending warm ingredients.
Transfer to a saucepan and stir in the milk over medium-low heat. Warm gently without a hard boil. Add the remaining broth as needed and season with salt and pepper.
Ladle into warm bowls. Add a small spoonful of pumpkin butter and a sprinkle of pistachios to each portion, keeping the remaining toppings separate.
Roast butternut squash, blend with broth and gentle spices, then finish with milk, pumpkin butter and pistachios.
Joy’s kitchen note · I like keeping the pumpkin butter and pistachios beside the bowls so everyone can choose the amount they want. Start with a small spoonful of pumpkin butter; it is a topping, not an instruction to stir the whole jar into the pot. For a smoother workflow, roast the squash first, then measure the seasonings while it cools enough to handle.