Time15 min prep + 25 min cooking + 40–60 min beet roasting
MakesAbout 5 cups
CategoryDinner
Tastefully Planned,
Joyfully Cooked.

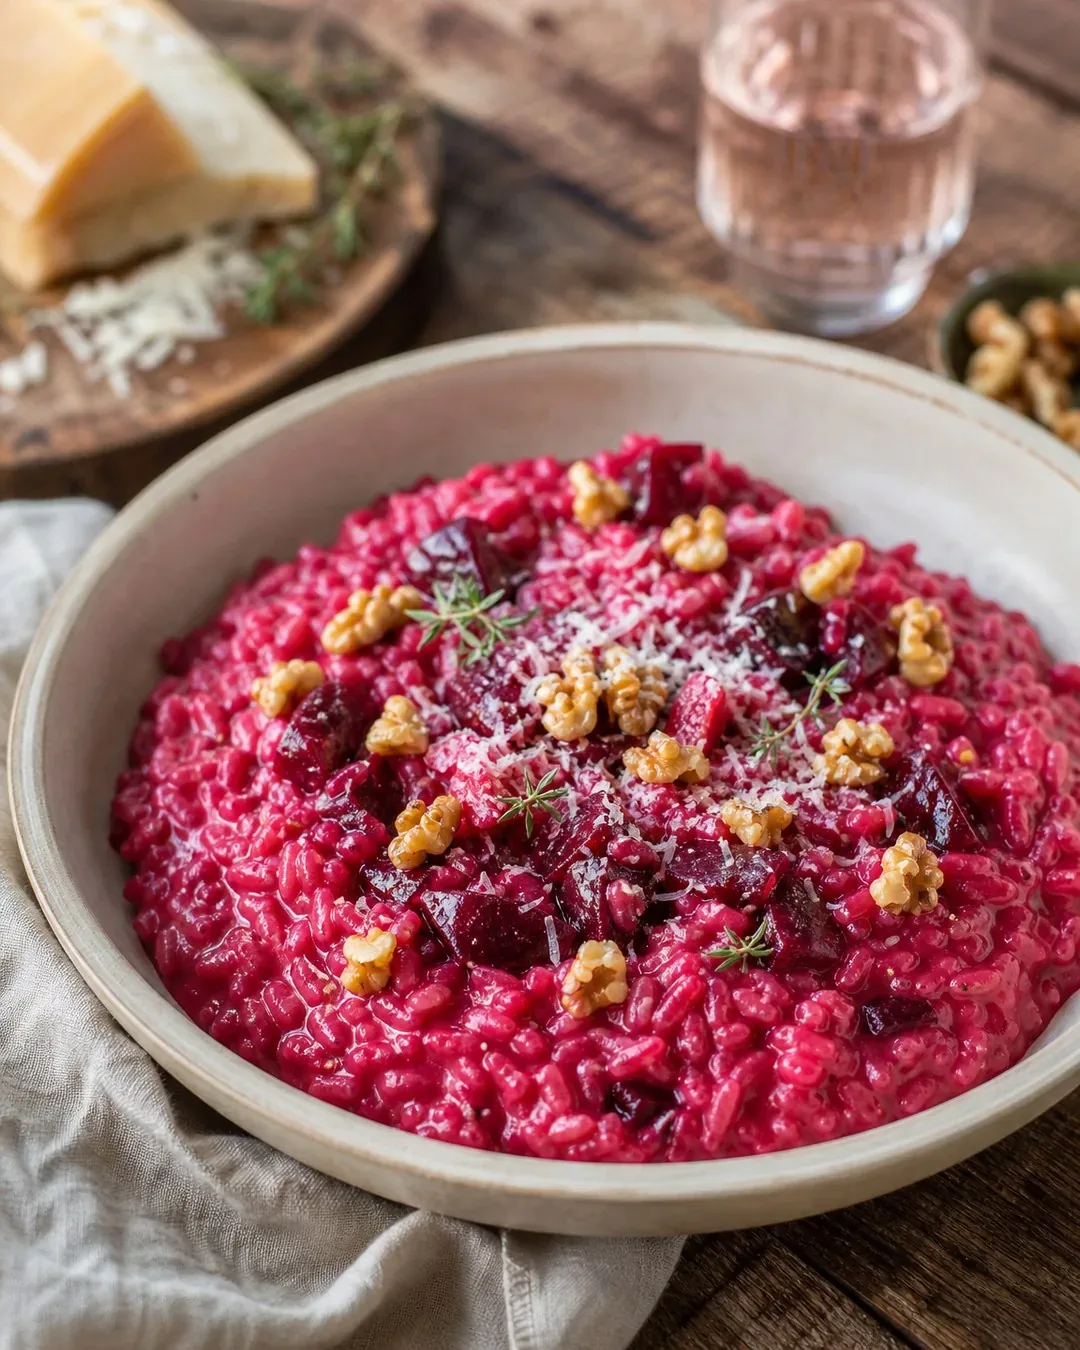
Make roasted beet risotto with Arborio rice, warm broth and goat cheese. Pureed and diced beets bring color, sweetness and texture to each bowl.

The color comes with a purpose
Beets don't need to be hidden in this risotto. Some are blended into a smooth puree that colors the rice, and some remain diced so you still meet little tender pieces in the bowl. Goat cheese brings a tangy contrast, dill a fresh aromatic finish, and walnuts a welcome break from all that softness. I like a vegetable dish that is clear about what it is. The color may catch your attention first, but the texture is what makes another spoonful appealing.
This recipe yields about five cups, which is a useful way to think about portions without pretending every meal needs the same-size bowl. Serve a smaller amount beside another dish or a more generous bowl as the main part of dinner. A fresh salad or the optional beet greens can round out the table. Risotto asks for attention near serving, so keep the rest of the menu manageable. The most thoughtful dinner isn't necessarily the one with the largest number of pans.
Step 1: Roast the beets
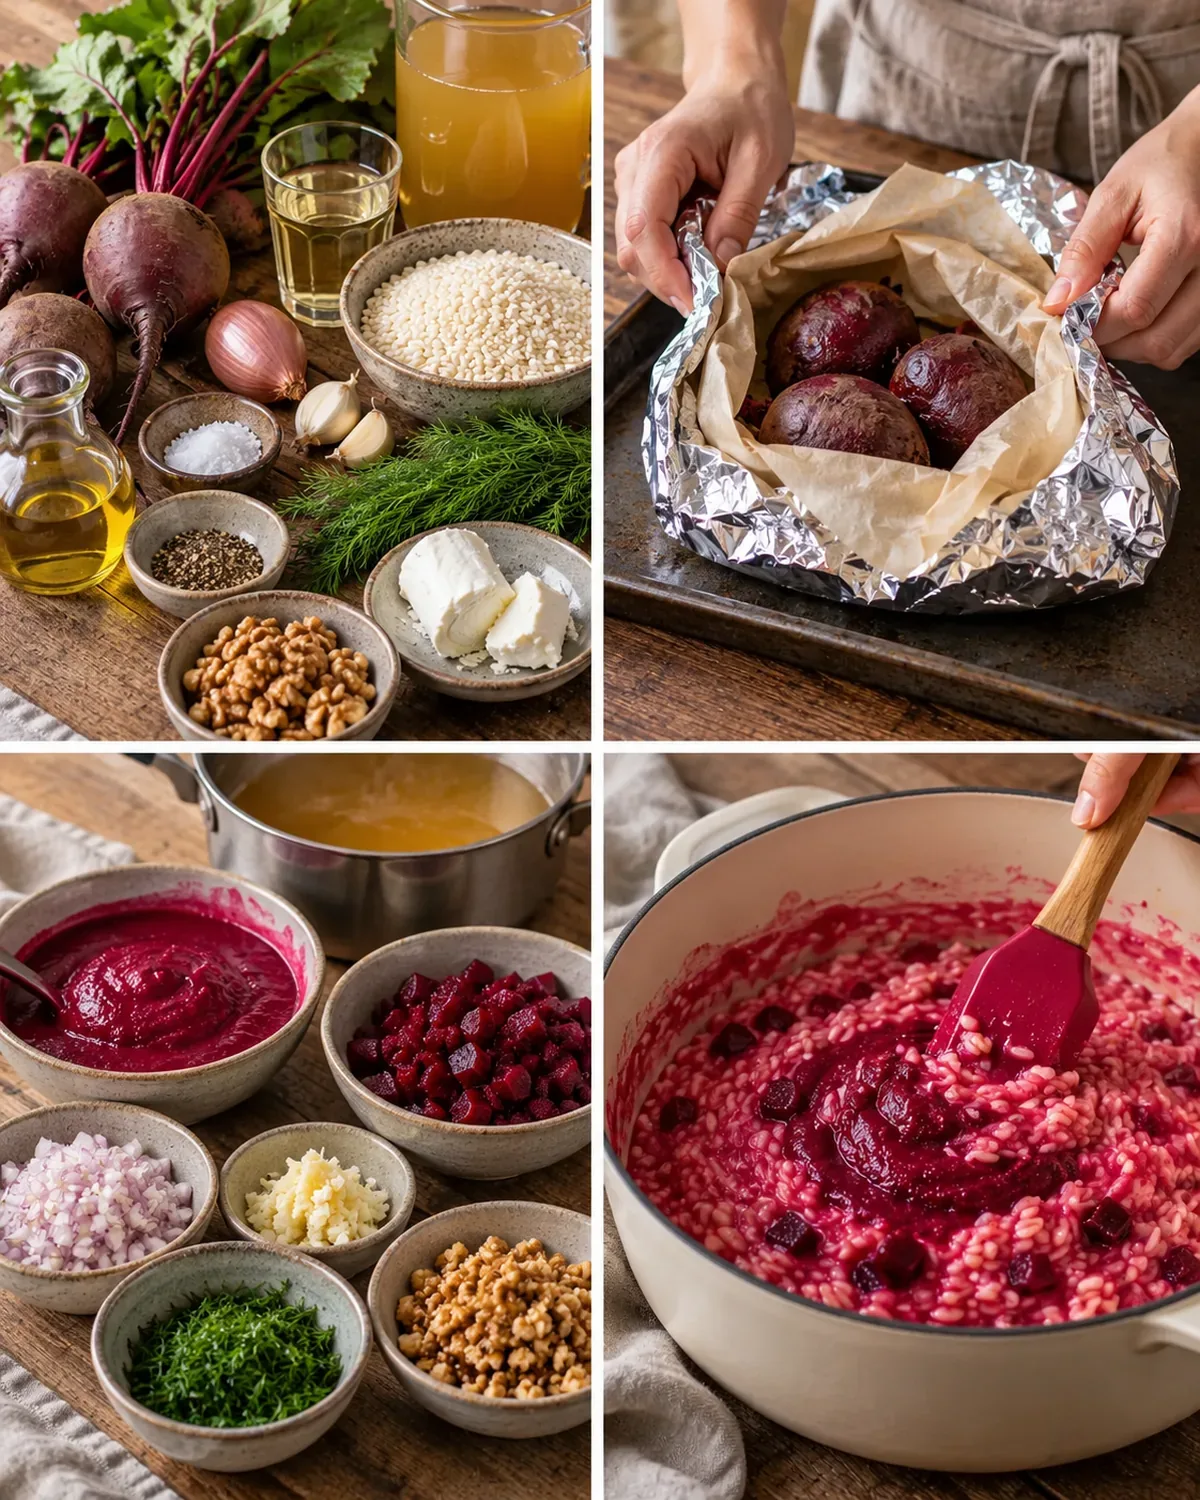
The beets have the longest task, even though the rice gets most of the stirring. Wash and trim them, then wrap in parchment and tightly in foil as directed. The wrapping helps them cook in their own moisture. Begin checking at the recipe's first time cue and keep going until a knife slides in easily. A beet that is merely warm or partly softened won't blend as smoothly and will give the diced pieces a different bite from the rice around them.
Size matters more than the number of beets. A few small ones can finish before one very large specimen. Check the larger pieces as well to be sure the whole batch is tender. The recipe allows roasting up to three days ahead, which can move the longest wait out of the dinner hour. Cool and refrigerate the cooked beets appropriately in a covered container. That is a useful planning advantage, especially when the oven is already on for another meal and you can give the vegetables their own wrapped space.
Step 2: Prepare the beet puree and cubes
Set aside the measured cup of diced beet before blending the rest. It is easy to puree everything absentmindedly and lose the tender pieces the finished dish is meant to have. Cut the dice small enough to sit comfortably on a spoon with rice. A little variation is fine. Spoon-sized pieces spread through the risotto easily and let you enjoy beet and rice together in each bite.
Blend the remaining beet with the half cup of broth reserved for that task. That liquid comes from the recipe's total; keeping track of it avoids unnecessarily flooding the rice later. Scrape the blender or processor thoroughly so the smooth puree makes it into the pot instead of staying on the walls. Beets can mark utensils and work surfaces, so a heatproof silicone tool is practical here. Wiping splashes as you go is much easier than discovering dried pink spots after dinner.
Rice and broth do the structural work
Arborio is the rice specified for this method. Its ability to release starch while keeping a recognizable grain is central to the texture, so ordinary long-grain rice isn't a simple equivalent. The risotto should become creamy through the rice and liquid, not through a last-minute attempt to cover a dry pot with lots of cheese. Have the broth warming before you start the rice so each addition can keep the cooking moving at a gentle pace.
Vegetable broth keeps the dish vegetable-based, while the listed low-sodium chicken stock alternative changes that choice. Water with the specified bouillon is another practical option when that is already in the pantry. Taste whichever liquid you're using because its salt level affects the whole pot as it concentrates. The recipe lists a starting salt amount, but stock and goat cheese contribute too. Keep extra seasoning as a decision at the end rather than assuming every brand of broth needs identical treatment.
Step 3: Build flavor before you add the color
Finely chopped shallot softens quickly and spreads through the rice rather than leaving large onion pieces. A small onion is the permitted alternative. Give the garlic its short turn after the shallot so it becomes fragrant without darkening aggressively. Then stir in the rice for the brief toasting stage. You are coating and warming the grains, not trying to brown them deeply. Having the wine and hot broth ready prevents that short stage from stretching while you search the refrigerator.
Use the dry white wine in the amount given rather than a sweet bottle whose flavor pulls the beets in an even sweeter direction. Let it cook away before the first cup of broth. That sequence leaves the wine's contribution in the pan without a raw-tasting puddle around the grains. A modestly priced wine suitable for drinking is enough; this small quantity doesn't need a special premium purchase. Plan another use for the open bottle instead of letting a recipe's quarter cup become a reason to waste the rest.
Step 4: Stir to understand the pot
The first broth additions give the rice a chance to cook before the beet puree joins it. Stir as directed, feeling along the bottom of the pan so the grains don't catch. You don't need frantic movement every second, but you do need to stay involved. A gentle simmer lets the rice take in liquid steadily. If the surface is barely moving, dinner may take longer; if it is boiling hard, liquid can disappear while the grain still needs time.
After the puree goes in, continue with warm broth in measured additions, tasting grains as they approach tenderness. The recipe correctly leaves room for not using every drop. Rice, pan shape and heat all affect what the pot needs. Stop when grains are tender with a little bite and still distinct. A chalky, hard center needs more gentle cooking and liquid; a completely collapsed grain won't be repaired by another stir. Sensory checking is more useful than forcing the whole quantity of broth into the pot.
Step 5: Keep the finish flowing
Fold in the diced beet and adjust the liquid so the risotto moves gently rather than standing like a firm scoop of mashed potatoes. It will continue to thicken as it sits, especially once the cheese is involved. Have bowls ready and the rest of the meal close to finished before this point. A risotto made very stiff on the stove will feel stiffer by the time it reaches the table. A little looseness now leaves room for that natural change.
Goat cheese can be folded through or kept for the top of each bowl, exactly as the recipe allows. Folding makes the flavor more evenly creamy; topping creates distinct tangy bites and lets people choose their amount. Dill goes in at the finish so its freshness remains noticeable. Toasted walnuts belong on the bowls, where they can keep their contrast. If you have saved suitable beet greens, steam them as the optional accompaniment rather than burying the nuts and greens in the rice long before serving.
Spend carefully on the finishing pieces
A pound of beets gives both puree and dice, so look at their condition rather than choosing only for perfectly matching shapes. If they come with healthy greens, those may become the optional side instead of another purchased vegetable. Remove and store the greens separately so they remain easier to manage. Plan a use for any goat cheese or dill left after measuring; a sandwich, salad or egg dish can give those small amounts a clear next job.
Walnuts are a contrast, not the bulk of the meal. Measure what the recipe calls for and store the rest according to the package so an open bag doesn't lose its quality in the pantry. Toast only what you need for serving. When making a shared meal, keep the walnut topping separate if anyone needs to avoid it. Choosing the allowed cheese-on-top option also gives the table some flexibility without changing the rice method or pretending the central flavor of beet will disappear.
Leftovers have a different shape
Serve risotto promptly when that flowing texture matters most. If dinner is delayed, keep a little warm broth available and assess the rice gently, but don't expect a long hold to leave the grains unchanged. More heat continues their cooking. It is better to coordinate the serving moment than repeatedly stir a finished pot while waiting for a complicated side dish. A short menu is a practical advantage for a recipe whose texture is part of the pleasure.
Refrigerate leftovers promptly in a shallow, covered container once handled for storage, and plan to eat them soon. Rice will absorb more liquid and become firm in the refrigerator. Reheat a portion until hot throughout with a little broth or water, stirring gently to loosen it. Add only enough liquid to make it comfortable to spoon; a large splash can leave soft grains swimming in broth. Keep walnuts separate for a fresh topping. The reheated bowl can be useful and enjoyable even though it won't recreate the exact flow of freshly finished risotto.
I love the creative possibility of this color, but I don't expect a pink bowl to change my daughter's mind about vegetables. Offer a small portion and keep the walnuts and goat cheese separate. A little lemon zest or olive oil on top can brighten the earthy flavor. It leaves room for a beautiful bowl without needing everybody at the table to want the same finish.
Joy.Make roasted beet risotto with Arborio rice, warm broth and goat cheese. Pureed and diced beets bring color, sweetness and texture to each bowl.
Tap each ingredient as it goes into your basket or bowl.
Follow the steps in order to make this recipe.
Wash and trim the beets, saving greens if you plan to serve them. Wrap in parchment and then tightly in foil; roast at 400°F. Start checking after 40 minutes and continue until a knife slides in easily. Cool and peel if desired. You can roast the beets up to 3 days ahead.
Dice enough beet for 1 cup and keep those pieces aside. Blend the remaining beets with ½ cup broth into a smooth puree using a blender, immersion blender or processor.
Bring the remaining broth to a gentle simmer in a saucepan and keep it warm beside the rice pan.
Warm olive oil in a Dutch oven over medium heat. Cook shallots 2 minutes, then garlic for about 1 minute until fragrant. Stir in rice for 1 minute, add wine and let it cook away. Add 1 cup hot broth, salt and pepper, loosening browned bits from the base. Simmer on medium-low, stirring occasionally, until absorbed, then repeat with another cup.
Stir in the beet puree and let the rice absorb it. Continue adding warm broth gradually, stirring often; you may not need every drop. Stop when the grains are tender with a little bite and still hold their shape. Fold in the diced beet and loosen with broth so the risotto flows gently rather than standing in a stiff mound. A heatproof silicone utensil avoids staining a wooden spoon.
Check salt and pepper, then fold in goat cheese and dill. Alternatively, keep the cheese for the top of each bowl.
Serve with optional steamed beet greens and toasted walnuts for a little contrast in texture.
Make roasted beet risotto with Arborio rice, warm broth and goat cheese. Pureed and diced beets bring color, sweetness and texture to each bowl.
Joy’s kitchen note · I love the creative possibility of this color, but I don't expect a pink bowl to change my daughter's mind about vegetables. Offer a small portion and keep the walnuts and goat cheese separate. A little lemon zest or olive oil on top can brighten the earthy flavor. It leaves room for a beautiful bowl without needing everybody at the table to want the same finish.