Time15 min prep + about 1 hr 40 min–2 hr 30 min reheating + 10–15 min rest
Makes12–16 servings
CategoryDinner
Tastefully Planned,
Joyfully Cooked.

Warm a fully cooked spiral-cut ham under foil, then add an apricot, brown sugar and orange glaze near the end.

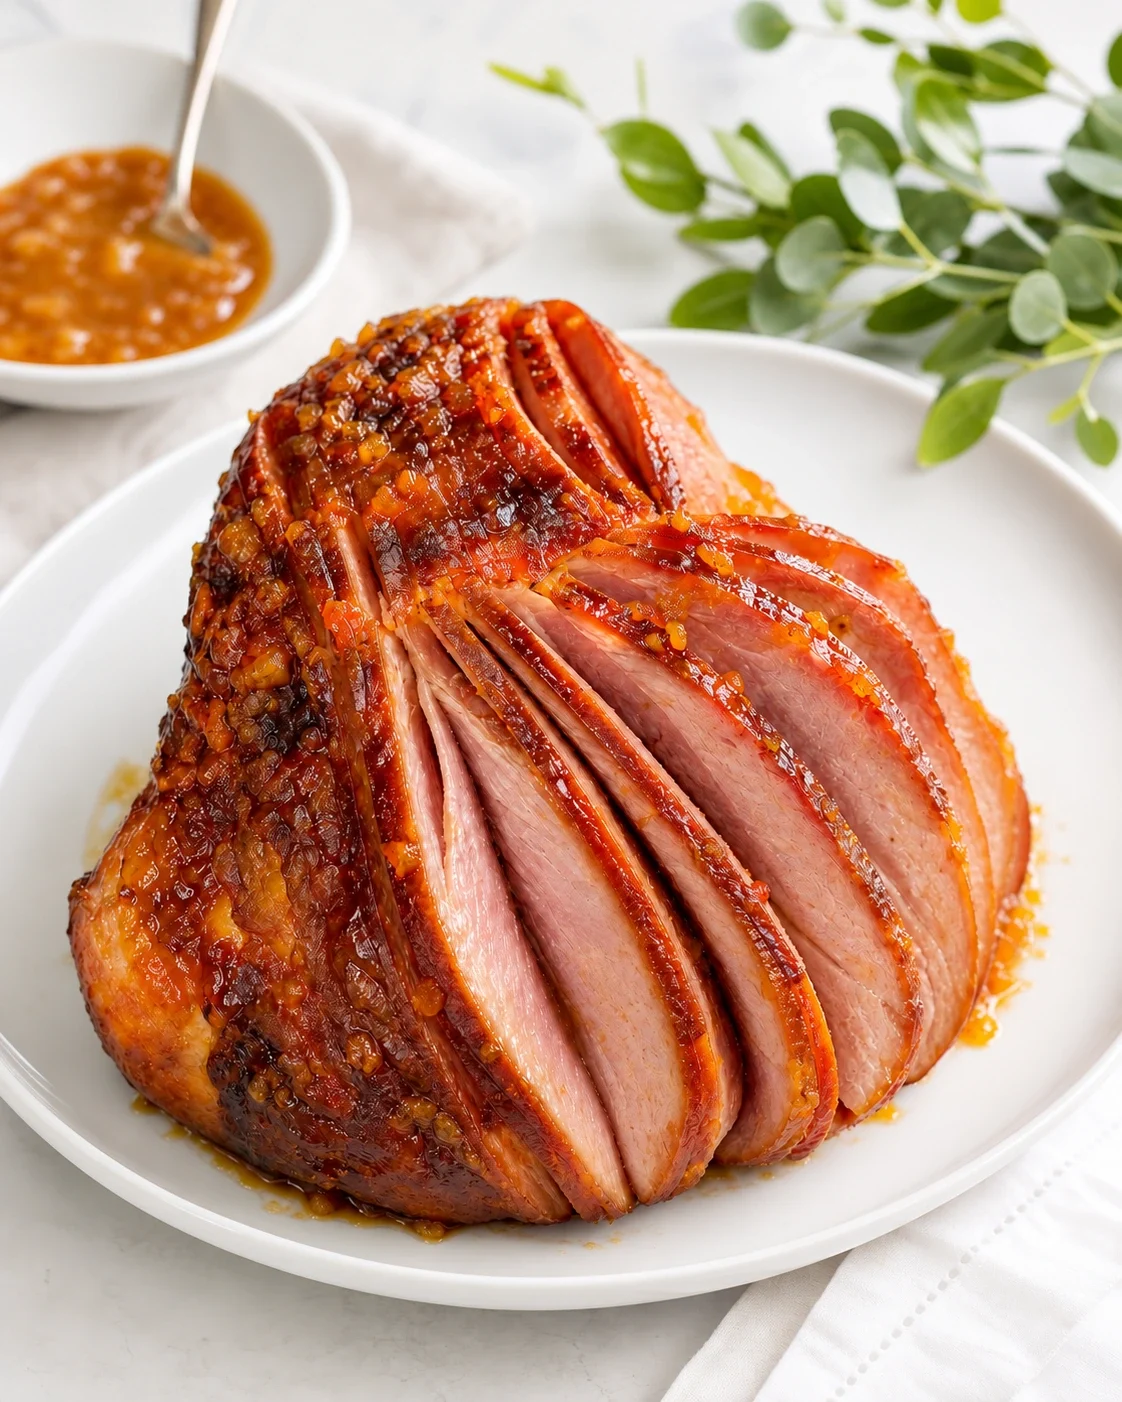
A generous centerpiece with a clear plan
A spiral-cut ham already brings a great deal to the table: savory flavor, a generous shape and slices that are mostly ready to separate. The work here is to warm it gently and give the outside a glossy apricot-orange finish. I like keeping the glaze short and purposeful. Apricot preserves and brown sugar provide sweetness, mustard gives it a little edge, and orange juice loosens the mixture without turning the ham into a citrus roast.
With twelve to sixteen servings, this is a recipe worth planning beyond the first platter. A ten-pound ham takes refrigerator room before cooking and leaves a substantial amount to portion afterward. Before shopping, consider how many people you are feeding and what other dishes will share the table. The recipe's serving range is a guide for that conversation, not a reason to pile every plate with the same amount or buy extra ingredients simply to make the table look fuller.
Begin with a fully cooked ham
The ham specified here is fully cooked and spiral-cut. That distinction defines the method: this is reheating, not cooking a fresh raw ham from the beginning. Read the package before removing it, and keep the reheating directions available. Different products can call for different handling, and the package is more useful than a general rule recalled from another holiday meal. Remove all packaging before placing the ham in the roasting pan.
The recipe also distinguishes an originally packaged inspected ham from repackaged fully cooked ham or previously cooked leftover ham. Keep track of which one you have, because the final temperature guidance differs. A thermometer gives you a way to make that decision from the food itself. A glossy surface, a warm kitchen or a particular number of oven hours cannot tell you what temperature the thickest part has reached. Set the thermometer out with the pan instead of looking for it near serving time.
Step 1: Cover the ham in its baking pan
Spiral cuts make serving convenient, but they also expose more edges to the oven. Setting the ham cut side down, adding the measured water and covering tightly with foil creates a gentler environment for reheating. The water is for the roasting pan, not an ingredient to pour into the glaze. A well-fitting foil cover helps keep the surface from drying while the center slowly warms through.
Choose a roasting pan that can hold the ham securely and still be moved without tilting hot liquid over the rim. There is no need to separate or spread all the slices before cooking. Keeping the ham together lets the outside protect the inner meat. The covered stage may look less dramatic than an uncovered roast, but it is doing the most important work of this recipe. The glaze can wait until the ham is close to ready, when its sugar has less time to darken.
Step 2: Warm the ham and check its temperature
At 325°F, the general estimate is ten to fifteen minutes per pound, putting a ten-pound ham around one hour forty minutes to two hours thirty minutes. That range helps you schedule side dishes, but the package directions and measured temperature are the deciding tools. Shape, starting temperature and the specific ham can all affect how quickly the center warms. Leave some room in your meal plan instead of expecting the last minute of the estimate to be exact.
Place the thermometer in the thickest part away from the bone, following the recipe's guidance. Checking only a thin spiral slice gives a misleading picture of the whole ham. Fully cooked ham in its original inspected packaging is reheated to 140°F here; repackaged fully cooked ham and previously cooked leftover ham should reach 165°F. Choose the temperature that applies to your ham and check it with the thermometer before taking the pan out. Once the right point is reached, continuing to roast for an appearance alone can dry the slices.
Step 3: Prepare the apricot-orange glaze
Apricot preserves or jam supply both fruit flavor and body. Brown sugar deepens the sweetness, while dry mustard powder adds a savory counterpoint without making a separate mustard sauce. The tablespoon of fresh orange juice helps the glaze loosen in the saucepan. Measure that small amount into a spoon before adding it to the pan so the glaze keeps its intended consistency. Too much juice changes how well the mixture clings to the ham.
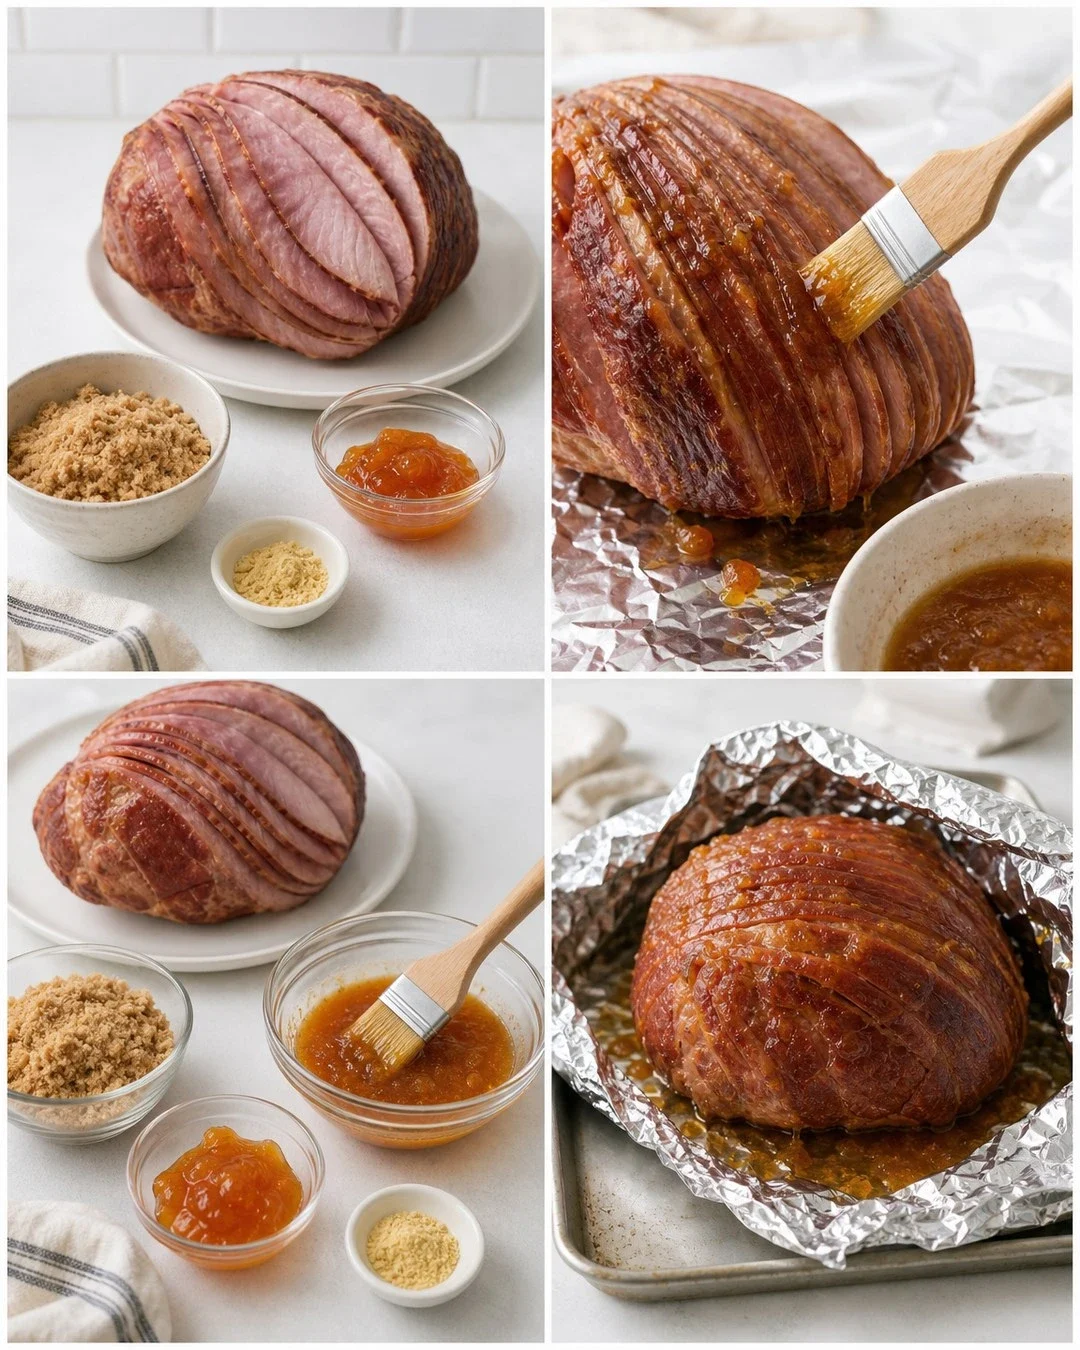
Low heat and stirring are enough to bring the glaze together over the stated few minutes. You are looking for a smooth mixture that can be brushed, not trying to cook it into candy. If your preserves contain pieces of apricot, work them through as the glaze warms so they distribute reasonably evenly. The glaze should support the ham's savory flavor. It doesn't need extra spices, butter or a second sweetener to do the job the recipe gives it.
Keep the finishing glaze clean
If you want a little glaze to offer at the table, move that portion into a separate clean bowl before brushing the ham. This keeps the serving portion apart from the brush and roasting pan. It is a small step that is easier to do at the beginning than to think about after the brush has gone back and forth. Put a clean spoon with the reserved glaze so it is ready when the platter reaches the table.
A brush is helpful for directing the glaze across the outside without pouring it all into one hollow. Apply it during the final twenty to thirty minutes, when the ham has had most of its covered reheating time. The second application after ten to fifteen minutes builds the finish gradually. More glaze at once doesn't necessarily produce a better coating; it can simply collect in the pan. Keep a little attention on where it lands, particularly along the exposed edges of the spiral slices.
Step 4: Glaze and finish the ham
The uncovered stage is where the outside becomes glossy and more deeply colored. Apricot preserves and brown sugar can also scorch, so this is the part of reheating that needs closer watching. The recipe's oven temperature doesn't change just because the foil is removed. A dark patch is a cue to check what is happening, not proof that the center is ready or that the whole ham needs a hotter oven.
Try to finish the warm center and the glazed surface together. Starting the glaze too early gives it a long exposure to heat while the interior is still catching up; waiting until the final stage makes the job more controlled. If the edges are getting dark, protect them rather than brushing on more sugar to hide the color. The glaze should look inviting and smell fruity and caramel-like, without a sharp burnt aroma. Temperature remains the final readiness check even when the outside looks perfect.
Step 5: Rest, separate and serve
The ten- to fifteen-minute rest gives you a useful interval to bring the table together without immediately pulling apart a hot ham. Have the serving platter and carving tools ready before that pause ends. Follow the spiral cuts, separating manageable portions rather than lifting a large loose stack that may slide apart. Be mindful of the bone as you work and keep it off the serving platter if it makes the slices awkward to reach.
With a sweet glaze on the main dish, I like simple vegetables and other sides that leave some contrast on the plate. The ham itself doesn't need every accompaniment to repeat apricot, orange or brown sugar. Let people choose the size of their portion, especially when several dishes are available. A small spoonful of the clean reserved glaze can be offered separately. That choice keeps the flavor clear and gives the platter a finished feel without coating every slice again at the table.
Make a leftover plan before clearing the table
Refrigerate leftovers in shallow covered containers within two hours, and use them within the recipe's three- to four-day window. The shallow containers matter because one large dense pile is harder to cool than smaller portions. Set out the containers before the meal if you can, so packing isn't another task that has to be invented while the kitchen is crowded. Keep serving utensils and storage utensils clean as you portion the ham.
Decide what each portion is for instead of creating one oversized container that gets reopened for every meal. Some slices may suit a sandwich, while smaller pieces can be reserved for a planned cooked dish. Those are uses to choose from what you already make, not reasons to buy a second cart of groceries. Labeling the cooking date makes the remaining time clear. A generous centerpiece feels more practical when the food after the celebration has a place in the week's meals as well.
I save a clean spoonful of glaze before brushing the ham. It gives me something fresh to serve alongside the slices. Keep the reheating gentle and add the glaze near the end, then use the resting time for the last side dish instead of rushing straight to the carving board.
Joy.Warm a fully cooked spiral-cut ham under foil, then add an apricot, brown sugar and orange glaze near the end.
Tap each ingredient as it goes into your basket or bowl.
Follow the steps in order to make this recipe.
Heat the oven to 325°F. Remove all packaging from the fully cooked ham. Set it cut side down in a roasting pan, add the water and cover tightly with foil.
Follow the ham package reheating directions. A general estimate is 10–15 minutes per pound, or about 1 hour 40 minutes to 2 hours 30 minutes for a 10-pound ham. Use temperature, not time alone, to judge readiness.
Stir brown sugar, apricot preserves, mustard and orange juice in a small saucepan over low heat for 3–5 minutes, until smooth. Reserve a little in a separate clean bowl if desired.
During the final 20–30 minutes of reheating, uncover the ham and brush with glaze. Return it to the oven uncovered. Brush again after 10–15 minutes, watching so the sugars do not scorch.
Reheat fully cooked ham in its original inspected packaging to 140°F. Repackaged fully cooked ham and previously cooked leftover ham should reach 165°F. Check the thickest part away from bone. Rest for 10–15 minutes before serving.
Serve with the clean reserved glaze if desired. Refrigerate leftovers in shallow covered containers within 2 hours and use within 3–4 days.
Warm a fully cooked spiral-cut ham under foil, then add an apricot, brown sugar and orange glaze near the end.
Joy’s kitchen note · I save a clean spoonful of glaze before brushing the ham. It gives me something fresh to serve alongside the slices. Keep the reheating gentle and add the glaze near the end, then use the resting time for the last side dish instead of rushing straight to the carving board.